
Have your grown out acrylics ever stopped you from thinking, “When will I have my next salon visit”? Did you ever try to pluck them out and feel sorry about your decision shortly afterward?
Girl, I’ve been there. On TikTok and after late-night tests in my bathroom, I’ve learned just how many ways are possible to get rid of acrylic nails at home. The good news? People have found a method to do it safely and without damaging their real nails. I will explain the process in detail, using tips that have protected my hands many times before.
This is the guide for those who wish to get rid of acrylics while avoiding stress and harm. If you’re waiting for your next appointment, saving some cash or like to DIY—you’ve come to the right place.
Preparation Before You Start
Ensure that your space and nail tools are prepared before beginning to use the nail file. Trust me—it makes the entire process smoother and safer.
1. Gather the Right Tools
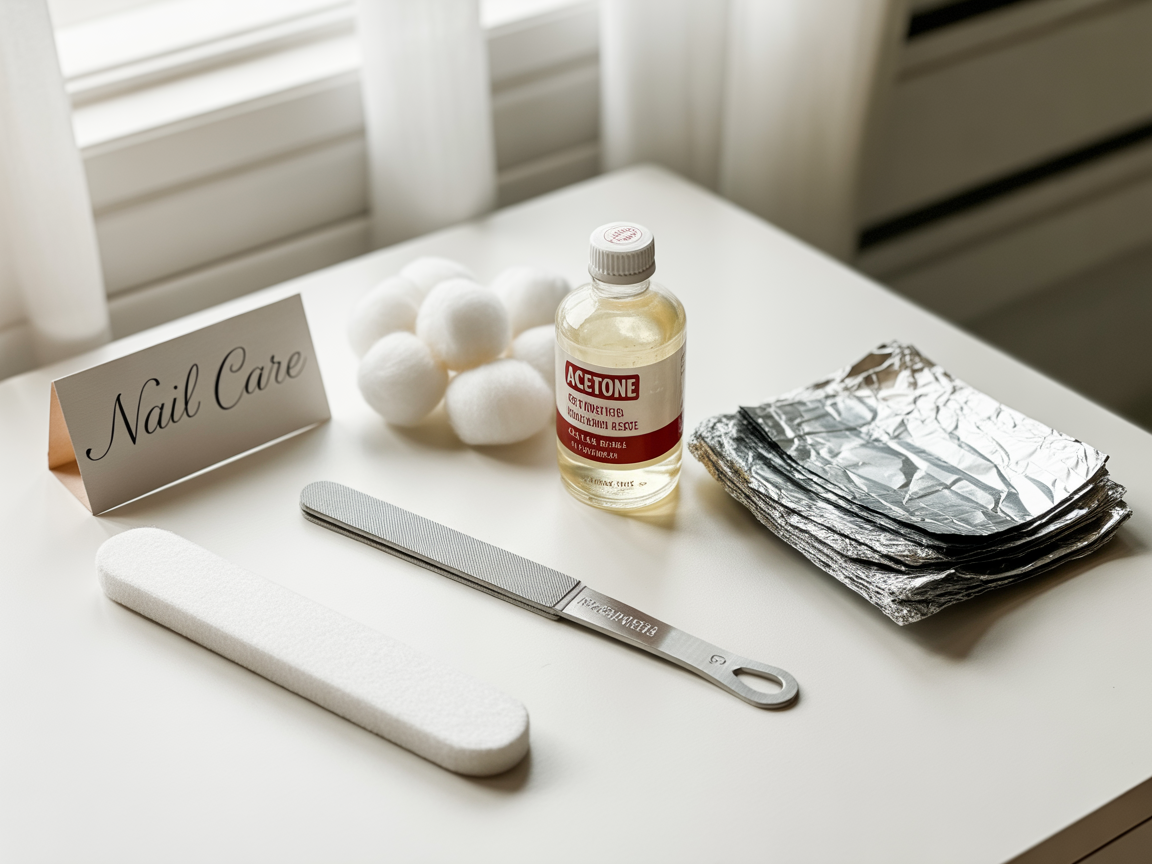
You’ll need pure acetone, cotton balls, aluminum foil (or nail clips), a nail file, buffer, cuticle pusher, and some kind of cuticle oil. I also recommend a small glass bowl and an old towel for your workspace.
2. Protect Your Skin and Workspace
Both your skin and your various surfaces can suffer from acetone as it is quite harsh. I usually rub some petroleum jelly around my cuticles and then lay a towel below me to catch the drips. Realized this when I accidently damaged a wood table while trying to remove it during the night.
Step-by-Step Acrylic Nail Removal
This is the exact process I use at home. I keep developing it and it’s now kind, practical and suitable for use by yourself.
3. File the Top Layer
Start by gently filing off the shiny topcoat. This helps the acetone penetrate the acrylic more easily. Skip this step and I discovered the difference it could make. Use a coarse nail file and go slow.
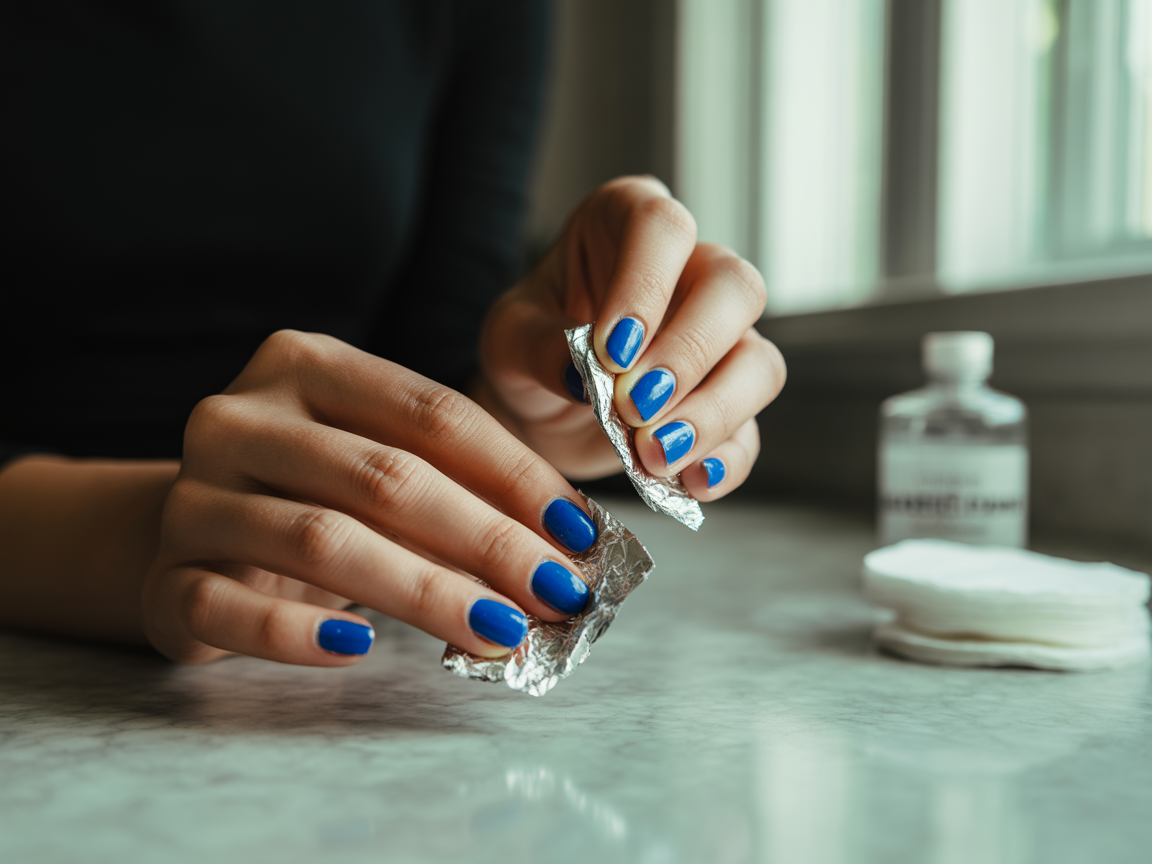
4. Soak Cotton Balls in Acetone
Don’t use regular polish remover—it won’t cut it. Take a cotton ball full of 100% acetone, place it over each nail and wrap everything with foil. For me, foil is better than those plastic nail clippers.
5. Wait Patiently
This is the hardest part. Allow the acetone to work by sitting quietly for 20 to 30 minutes. I normally listen to something calming and look at the Pinterest feed for nail inspiration while I wait. A little self-care moment never hurts, right?
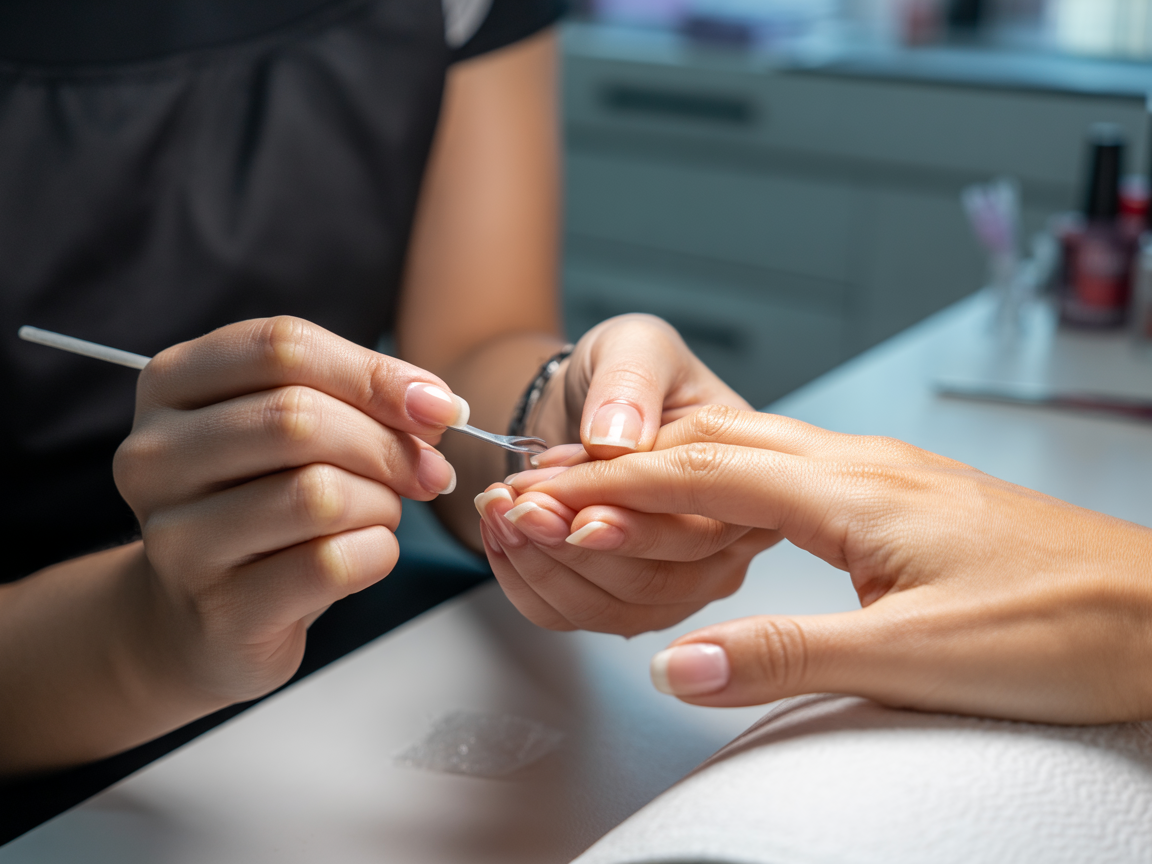
6. Push Off the Acrylic Gently
Once the nails are soaked, use a cuticle pusher to gently remove the acrylic from under your nails. Should the splint be too loose, wrap the finger again and let it sit for another 10 minutes. Never force it—your natural nail is too precious. I realized this while doing everything in a quick way before vacation. Ouch.
7. Buff and Hydrate
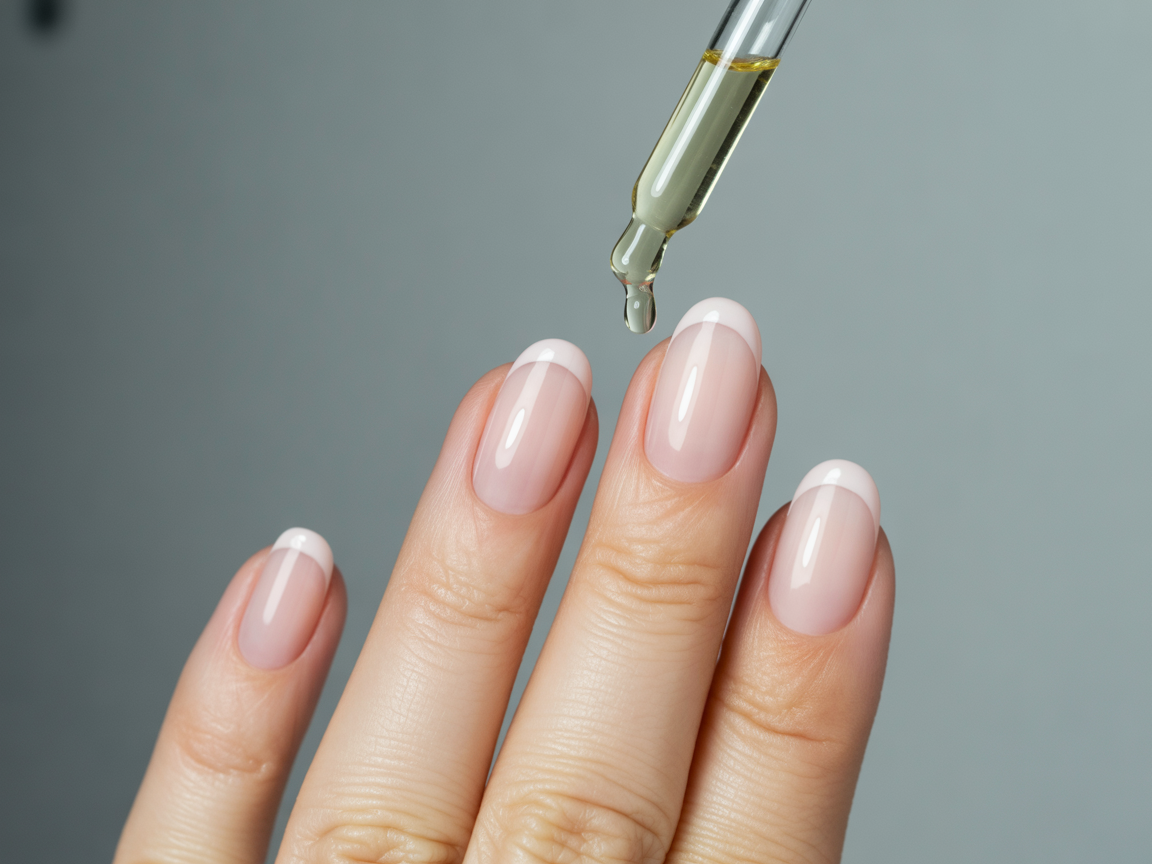
As soon as you remove the acrylic, buff your real nail to make it smooth. Now, apply some deep moisturizer on your hands; they worked hard and deserve it! I prefer to use lavender oil or a moisturizing cream for my cuticles.
What to Avoid (Trust Me, I Learned the Hard Way)
I wish someone had informed me about a few things before I tried to remove acrylics myself. Learn from my mistakes:
- Never rip or peel them off without soaking
- Avoid using metal tools with too much force
- Don’t skip hydration or post-care
- Be patient—rushing always backfires
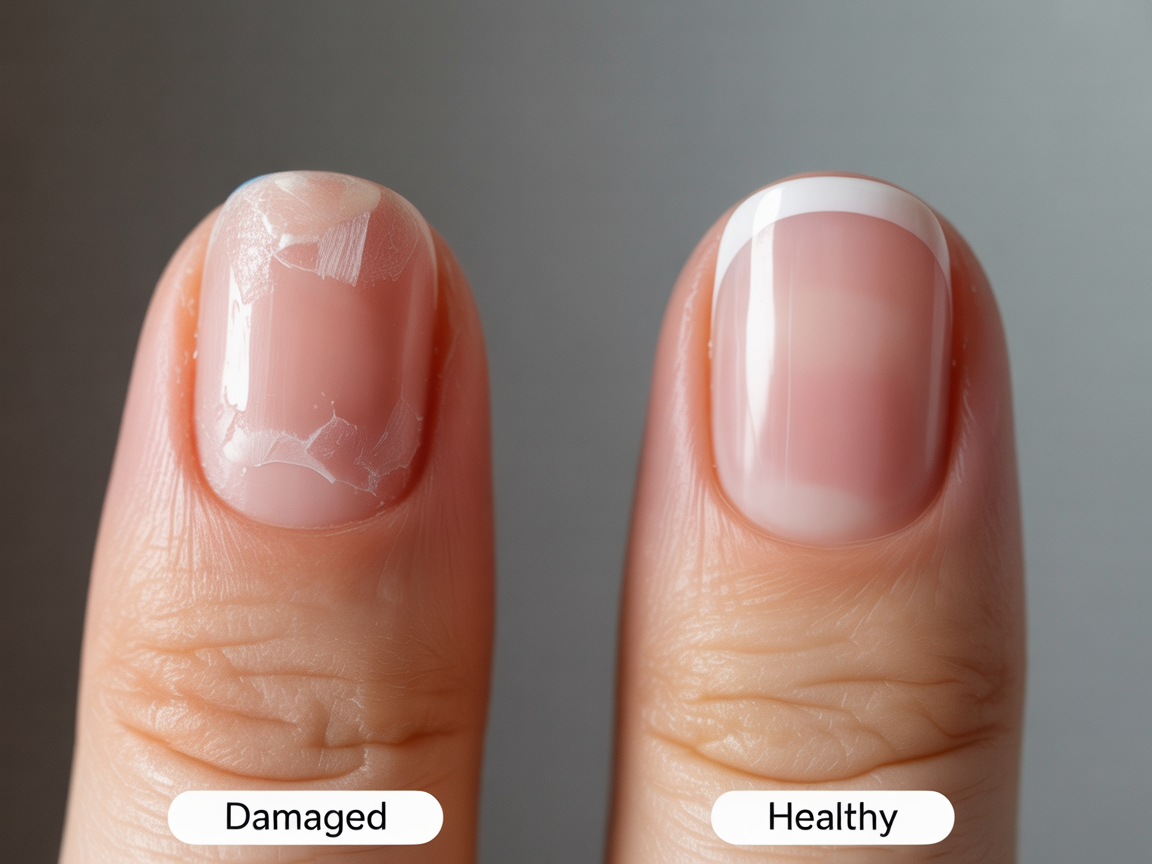
Your nails are delicate. Treat them like the treasures they are.
Aftercare Tips for Healthy Nails
Here is where the recovery takes place, helping your nails grow again. Here’s what’s worked best for me:
8. Strengthen With Treatments
I usually use a plan to strengthen my body again. My holy grail combo? Do some nail oil every night, Nail Envy twice every week and a biotin supplement.
| Product Type | My Recommendation | Frequency |
|---|---|---|
| Nail Oil | Jojoba or Lavender Oil | Daily |
| Strengthener | OPI Nail Envy | 2–3 times/week |
| Supplement | Biotin Gummies | Daily |
9. Moisturize Daily
I realized that I was able to recover constantly by regularly moisturizing my hands. Frequent application of shea butter along with glycerin and using overnight hand masks can improve your skin a lot. After applying hand cream, I ensure I put on cotton gloves before falling asleep.
10. Take a Break From Acrylics
It might be tempting to secure another performance as soon as you get off stage, but try to take a moment first. Give your nails at least 2–3 weeks to breathe. Since I kept applying acrylics back-to-back, my nails remained weak for months. After that, I let them rest and they really feel much stronger.
When to Visit a Professional Instead
Sometimes, DIY isn’t the answer—and that’s okay. Visit a salon if your nails are cracked, you are allergic to the nail product or have very thick acrylic nails. Once, I had to do this because my vacation manicure ended up anything but perfect. Don’t wait until your nails are crying for help.
Final Thoughts
Taking your acrylic nails home doesn’t have to make you afraid, dirty or feel any pain. Just keep these tips in mind:
-
- Be gentle and patient—don’t rush the process.
- Prep your space and gather the right tools.
- Focus on aftercare just as much as removal.
- Avoid shortcuts that could damage your natural nails.
Allow your nails to rest and grow between each set you do.
I am hopeful that this guide helps you feel able to remove your acrylics by yourself. I’d like to hear your hints, tricks and experiences.
How do you usually take off acrylic nails from home? Have you ever had a DIY win or fail?
Share your stories with others in the comments or by sending me a message on Pinterest. I am certain that focusing on beauty as learning from others is better than simply looking gorgeous all the time.
Should you find this article helpful, then you could either save it for later or tell a friend who needs a new set of acrylics. Perhaps, it will help them avoid a nail disaster, like I experienced before (it really happens).
Remember to look after your hands because they work so hard for you. Give them love, some acetone and plenty of moisturizer.
With care and cuticle oil,
– Your Beauty Bestie
Don’t forget to visit my other posts for ideas on caring for your nails at home and making your own homemade nail polish. I also let you know the things I do to restore my nails after many years of getting them done at salons.