
How to Apply Eyeshadow Like a Pro: A Step-by-Step Guide with Personal Beauty Tips
Do you know what it’s like to spend twenty minutes on eyeshadow, just for it to crease or fade minutes later? Maybe you’ve watched tutorials before, but your colors still turned out looking mixed or unbalanced? It’s happened to me — far too many times. After struggling with eye makeup for a while, I’ve learned a number of tricks that really made my eye routine stand out.
In this tutorial, I’ll explain each detail and show you how to mix, blur and prep your lids. Having a beginner’s mind or even being experienced, you’re sure to discover tips you can practice right now.
Who this guide is for:
- Makeup beginners unsure where to start
- Anyone frustrated by shadow that fades or creases
- Women looking for a polished, everyday or evening look
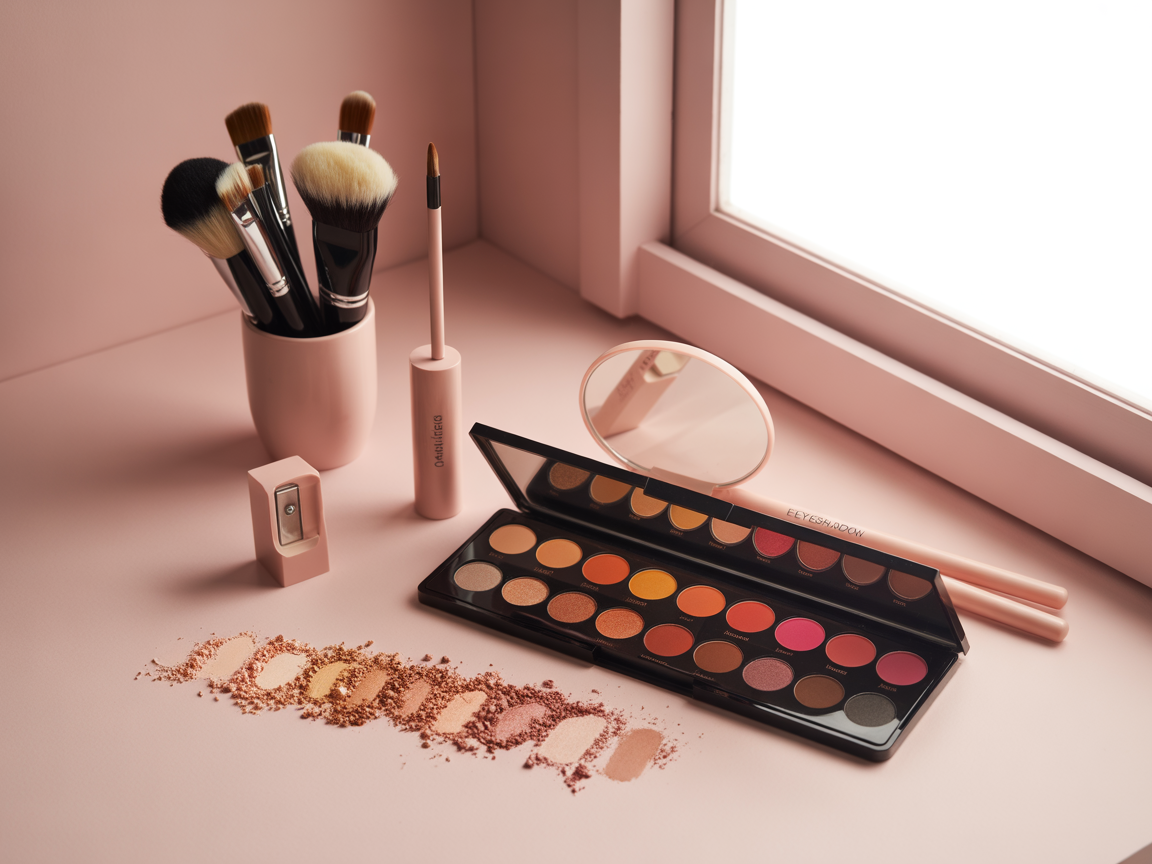
Tools You’ll Need Before You Start
Before we dive into technique, let’s talk tools. Having good brushes and foundation products can change the result and effectiveness of your eyeshadow.
- Fluffy blending brush – for your crease and transition shades
- Flat shader brush – to pack color on the lid
- Pencil brush – great for smudging or lower lash line work
- Eyeshadow primer – keeps your shadow from creasing and intensifies pigment
Good lighting and a clean mirror also help more than you’d think. Trust me — I once did a full glam look in a hotel room with yellow lighting and ended up looking like I’d been punched in both eyes.
Prep Your Lids Like a Pro
This step might sound skippable, but it’s actually one of the most important. Start by applying a pea-sized amount of eyeshadow primer across your lid using your fingertip. If you have discoloration, use a dab of concealer and set it with translucent powder for a smooth, even canvas.

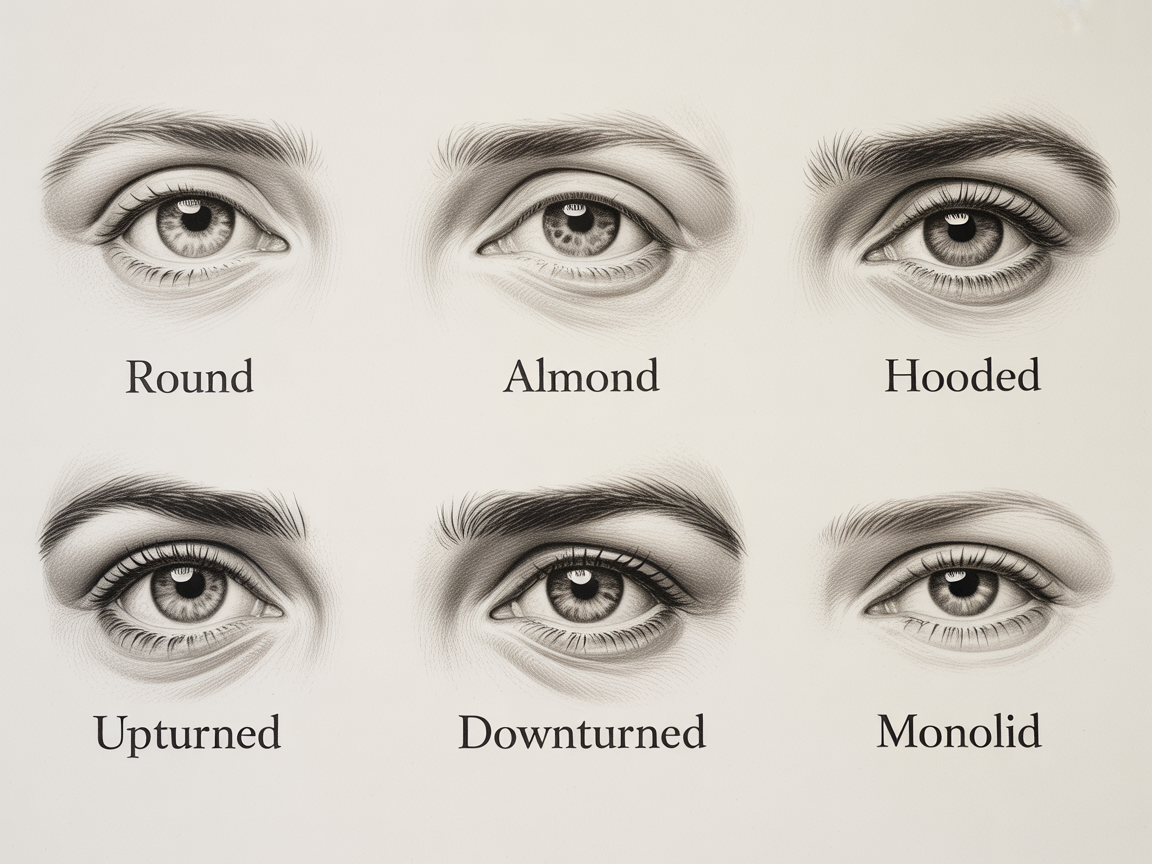
Know Your Eye Shape
Eyeshadow placement isn’t one-size-fits-all. Understanding your eye shape helps you know where to add depth or keep things minimal.
For years, I applied makeup as if I had almond eyes — until a makeup artist at a spa day in Miami told me I actually had hooded lids. Game-changer. Suddenly my shadows started showing up the way I wanted them to.
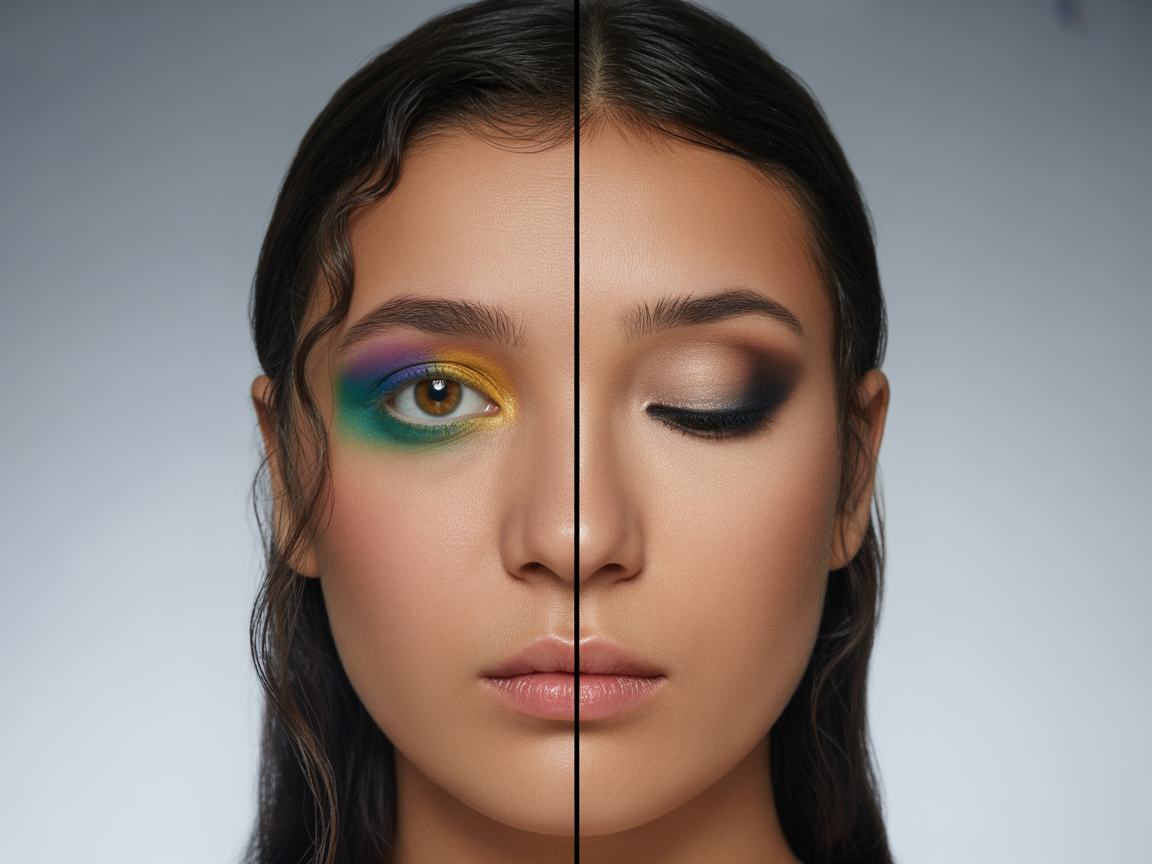
Step-by-Step Eyeshadow Application Guide
1. Choose Your Color Palette
Before touching a brush, decide on your color vibe. For daytime, I love soft browns or rose tones. When it’s dark, try gold, plum or rich matte shades. Try playing with different colors — you may end up loving the boldest ones most.
2. Start with a Transition Shade
Apply a fluffy brush with a medium brown or peach shade into the crease of your eye. It gives you more texture and aids all your other colors in working together without a hitch.
3. Deepen the Outer Corner
Choose a dark shade (charcoal, espresso or plum) and line the area over your eyelashes with it. Use a smaller brush to keep it precise. It offers more dimension and a slight upward lift to your eyes.
4. Add Lid Color
This is your pop of color. I really like to use my fingertip to swipe shimmer shadows onto the center of my eye — it creates a foiled effect that can’t be made with brushes. For matte shades, a flat brush works great.
5. Highlight the Inner Corner and Brow Bone
Dip a little brush into a weak shimmer or satin color and use it to highlight the space beneath your brow and close to your inner eye corner. It perks up your eye area and helps you look as if you just got enough sleep.
6. Blend Everything Seamlessly
This is where the magic happens. Use a clean, fluffy brush to soften any harsh lines between shades. Don’t over-blend though — you still want your colors to show.
7. Define the Lower Lash Line
Mirror the shades you used on top — starting with the transition shade, then deepening the outer third. Smudge with a pencil brush for a soft, smoky effect.
8. Finish with Mascara or False Lashes
A few coats of volumizing mascara can bring everything together. On special days, I’ll add wispy lashes for drama. Don’t forget to curl your lashes first — it makes a huge difference!
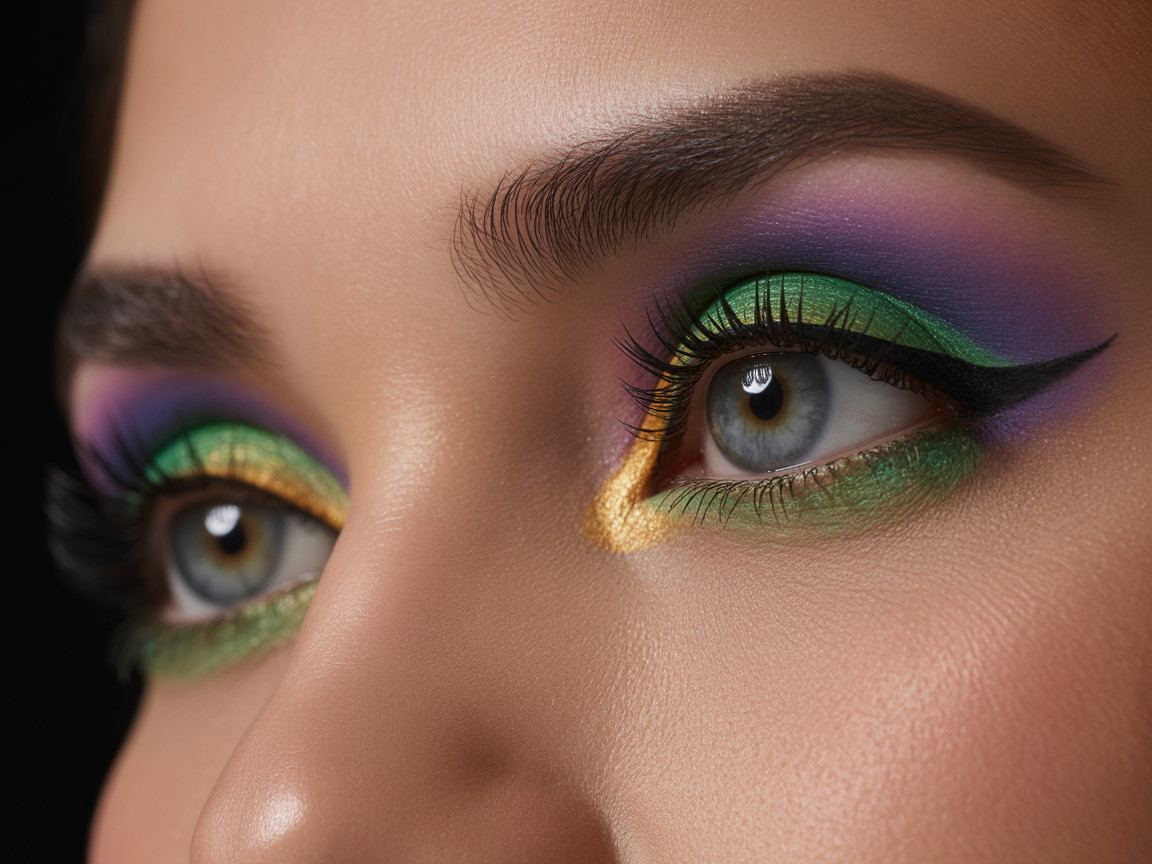
Optional Eyeshadow Looks to Try
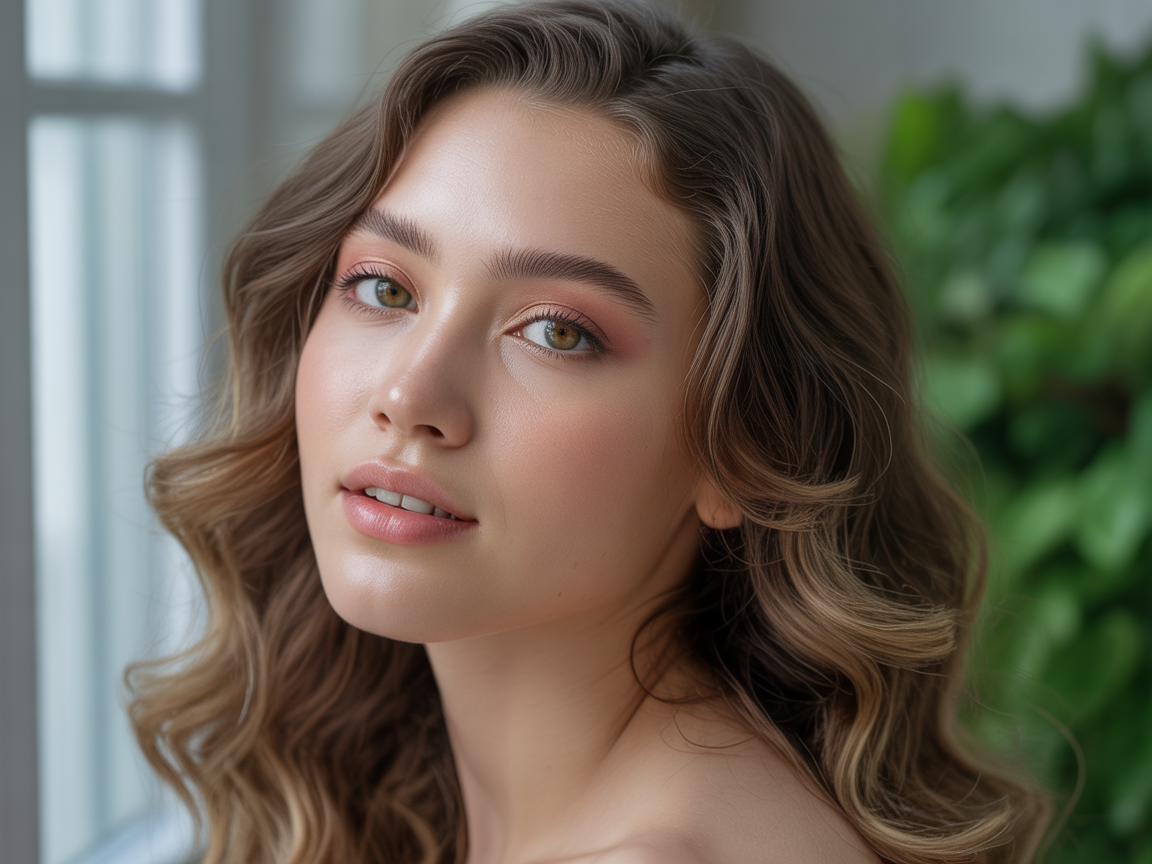
Soft Daytime Glow
Think soft neutrals, light shimmer, and minimal depth. Perfect for running errands or brunch with friends.
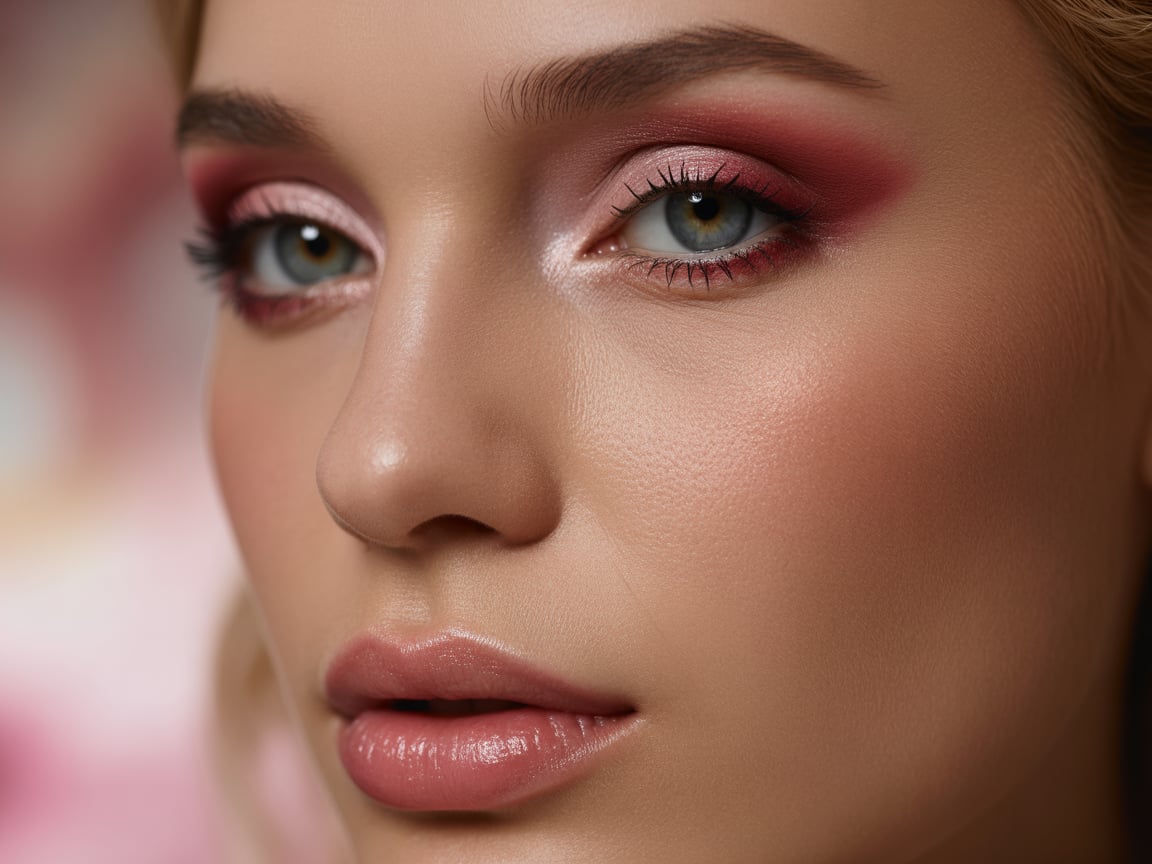
Romantic Rosy Tones
These are my go-to for date nights. Mauves and pink shimmers create a romantic, slightly vintage vibe — especially when paired with a berry-toned lip.
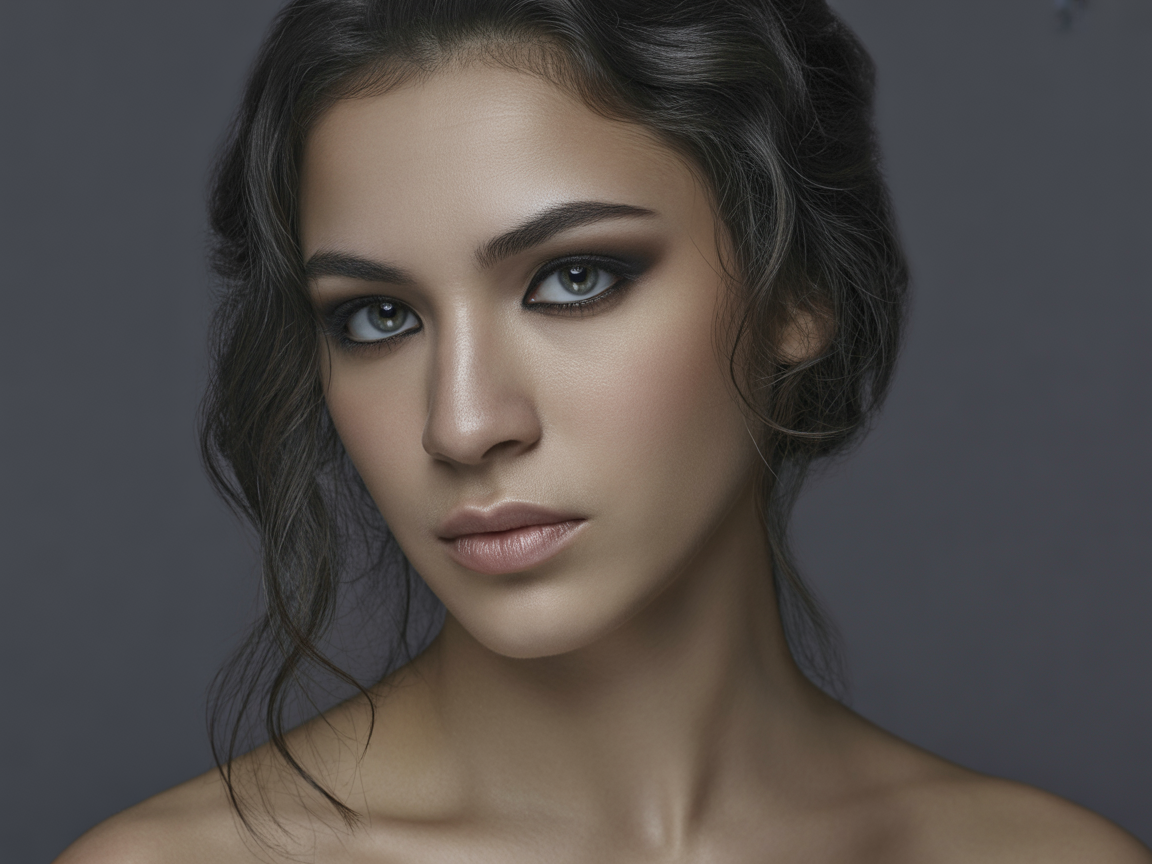
Classic Smokey Eye
Don’t be scared — a smokey eye is all about layering. Start soft and build. I learned this on a girls’ trip to Vegas when one friend went full-black on the first swipe. Lesson learned.
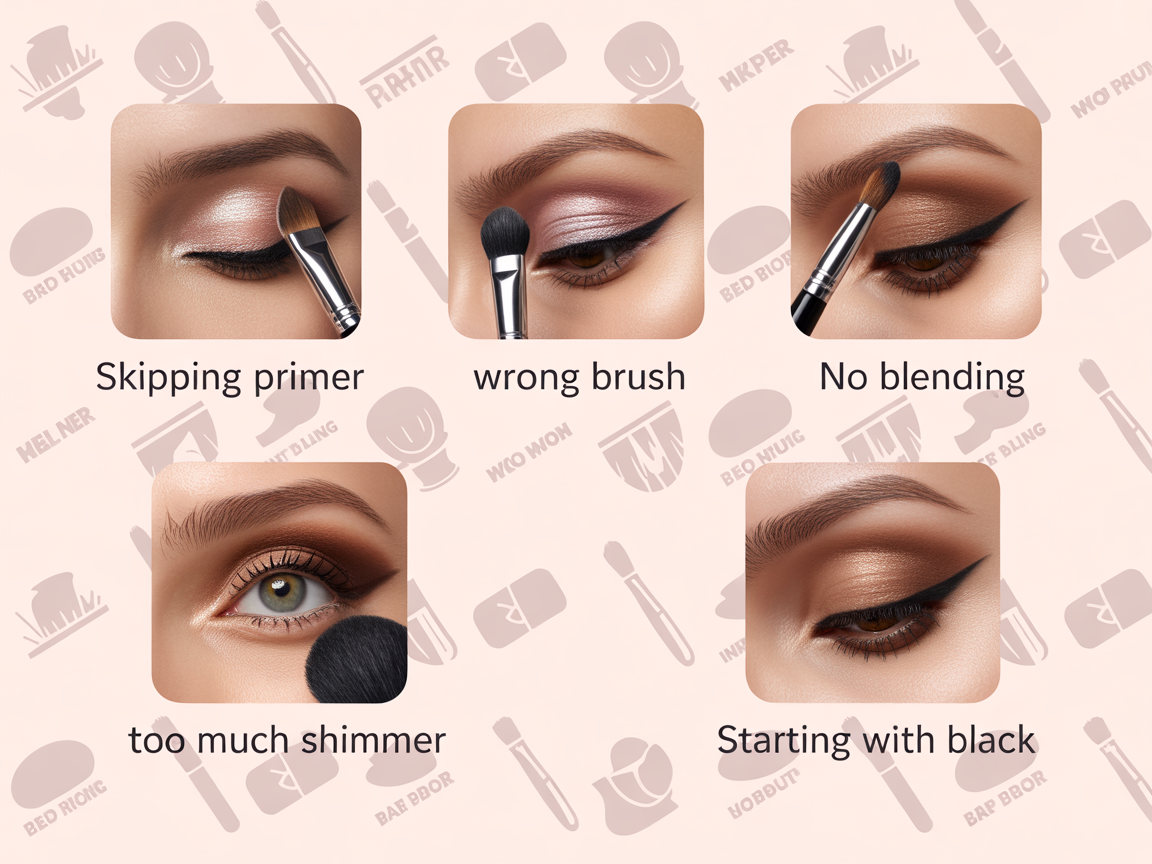
Common Mistakes to Avoid
Even experienced makeup lovers slip up sometimes. Here are five pitfalls I’ve personally made — and what to do instead.
- Skipping primer: leads to fading and creasing fast.
- Using the wrong brush: the wrong tools can ruin your blend.
- Not blending between shades: harsh lines can kill your look.
- Overdoing shimmer: too much shine makes the eye look puffy.
- Jumping straight to black: start with neutrals and build intensity.
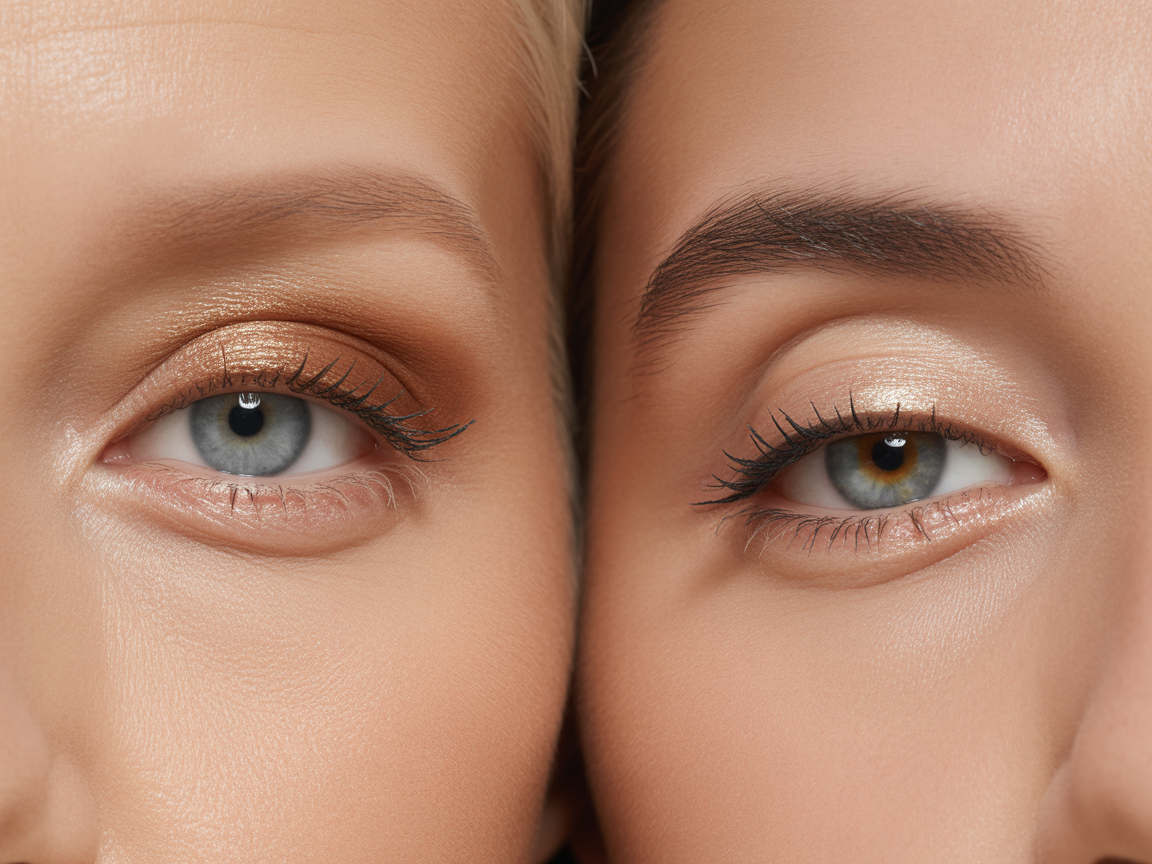
Eyeshadow Application Tips by Eye Color
If you’re not sure which shades to try, use your eye color as a starting point. These are my favorite combos:
| Eye Color | Best Eyeshadow Shades |
|---|---|
| Blue | Bronze, copper, peach, rust |
| Brown | Plum, navy, gold, emerald |
| Green | Mauve, burgundy, rose gold |
| Hazel | Olive, golden brown, taupe |
Pro Tips for Longevity and Wear
Once your eyeshadow looks amazing, you want it to last all day. These small steps make a big difference.
- Start with clean, oil-free lids
- Set your primer with powder if you have oily lids
- Use cream shadows as a base layer under powder
- Finish your look with setting spray for all-day hold
Final Thoughts
Let’s recap the most important things to remember:
- Use the right brushes and base for your skin
- Know your eye shape before applying color
- Start light, build slow, and always blend
- Experiment — don’t be afraid to try something new
- Confidence is your best makeup tool
What works best for you when applying eyeshadow? Do you have a favorite look or trick? We’d like to know what your favorite steps are!