
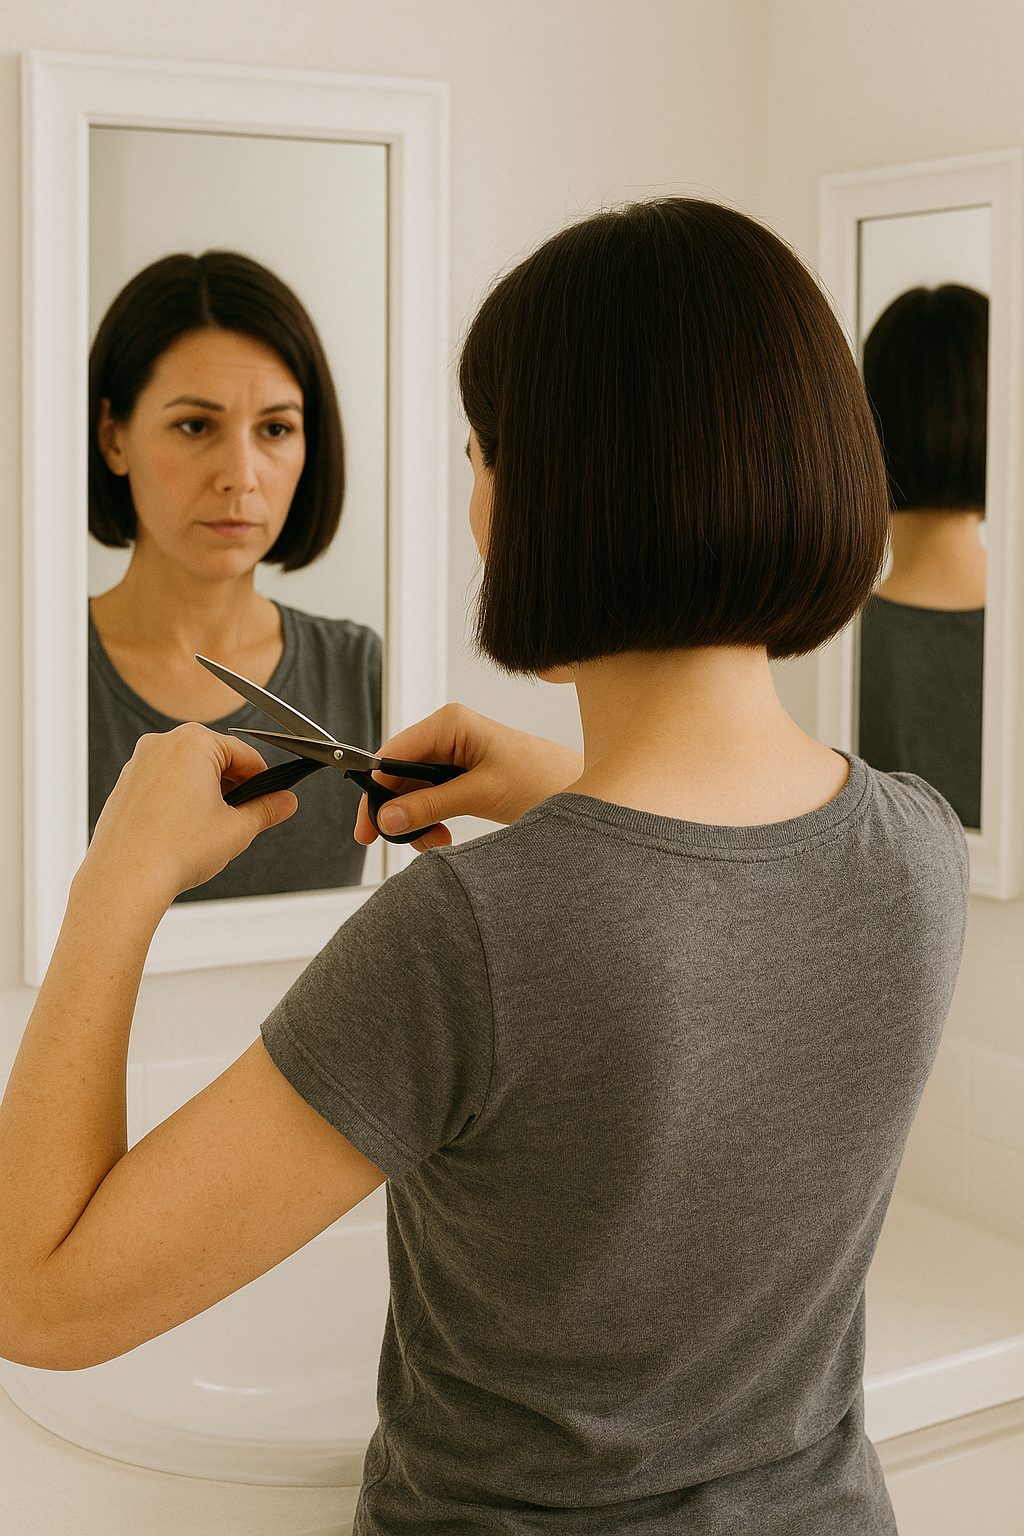
Have you ever stared at your reflection, scissors in hand, wondering if you could just skip the salon this time? I’ve done it — more than once. As a beauty expert who’s also a busy mom, I’ve learned that cutting your own hair doesn’t have to end in disaster. In fact, it can feel incredibly empowering — if you do it right.
In this post, I’m sharing the nine methods I personally use (and trust) to cut my own hair at home. From quick trims to DIY bangs, these tips have saved me from more than one hair emergency — and saved me a lot of money along the way.
Why I Started Cutting My Own Hair
I started cutting my own hair during a long vacation on the coast when I realized I couldn’t stand my split ends anymore. There were no salons nearby, and I had one pair of travel scissors and a compact mirror. Not ideal — but that’s when I learned the value of knowing how to manage my own cut. That first trim turned into a habit, and now it’s a go-to beauty ritual for me.
What You’ll Need Before You Start
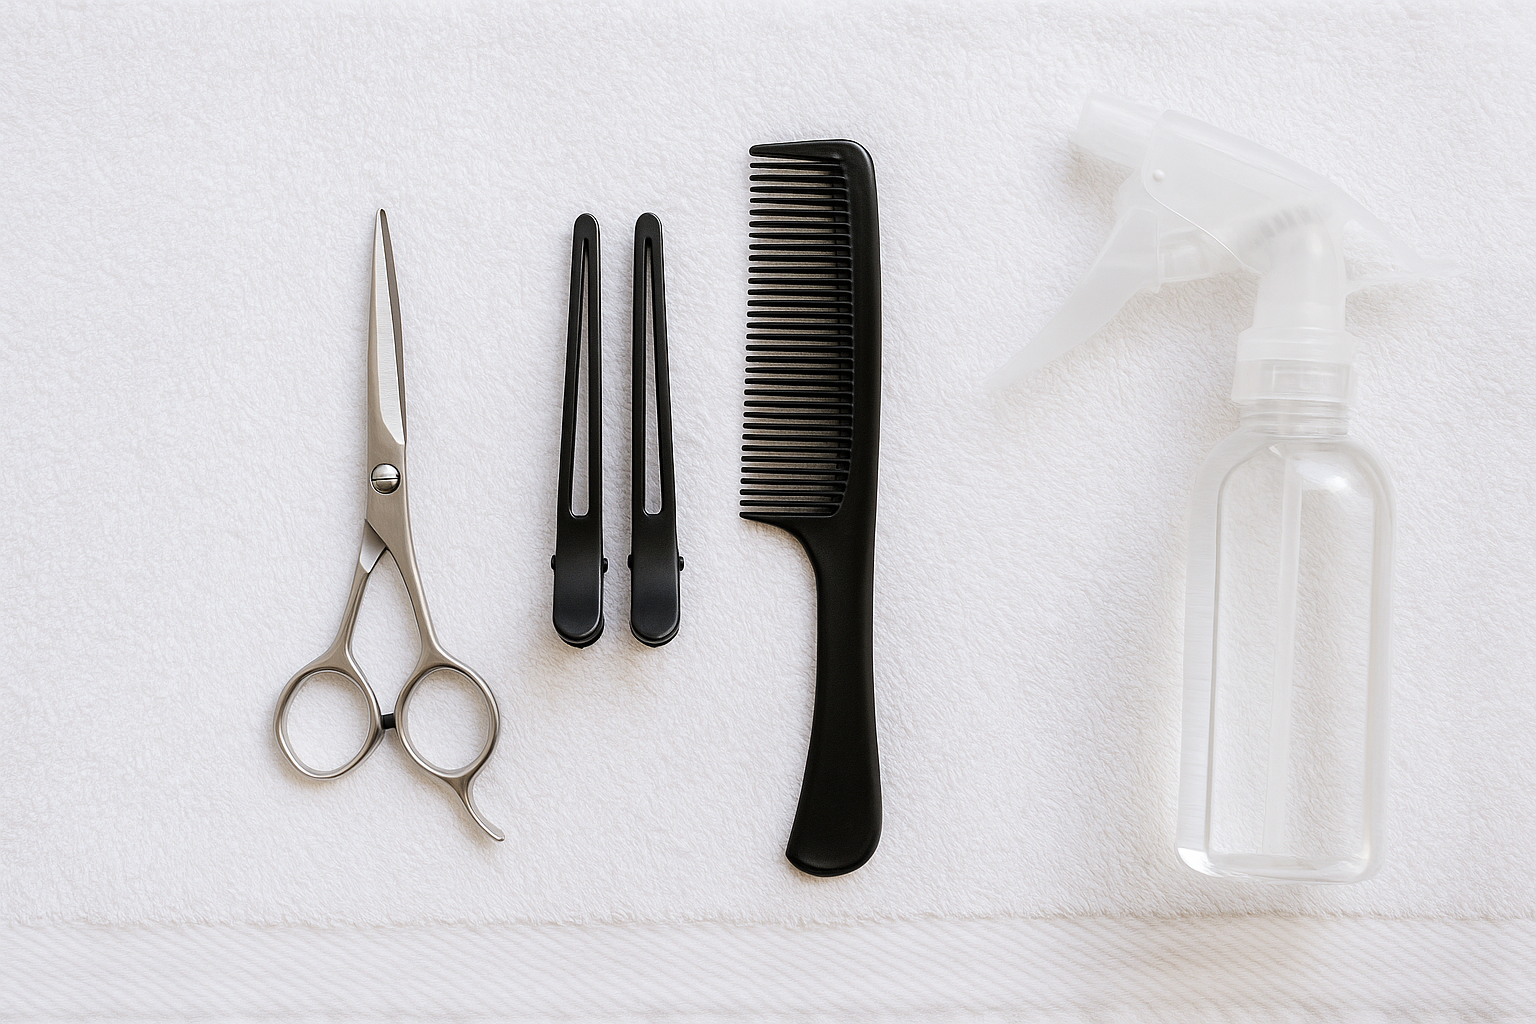
You don’t need a salon kit, but having the right tools will make the difference between “fresh cut” and “oh no.” Here’s what I always keep on hand:
- Sharp haircutting scissors (not kitchen scissors — ever!)
- Sectioning clips
- Fine-tooth comb
- Spray bottle with water
- Two mirrors or a 3-way mirror
- Towel or cutting cape
Trust me — prep is half the job. You’ll thank yourself later.
9 Ways to Cut Your Own Hair
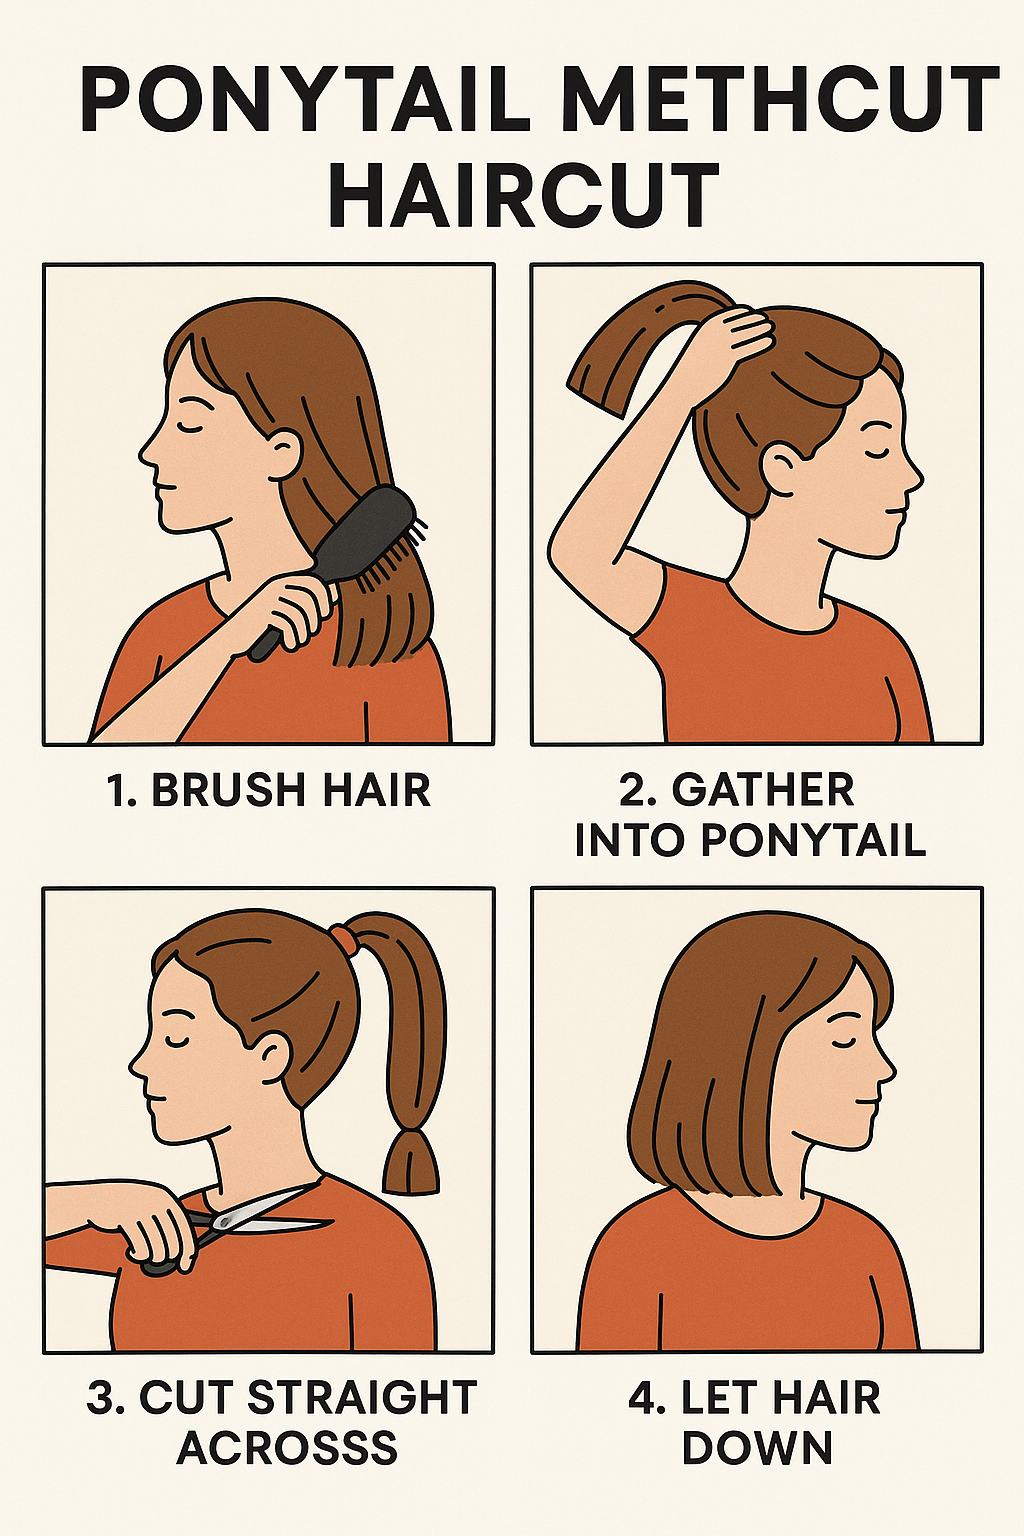
1. The Ponytail Method for Easy Long Layers
This was one of the first techniques I ever tried. Tie your hair into a high ponytail at the crown of your head, pull it straight up, and trim across. When you let it down, you get subtle layers with minimal effort. I’ve used this trick on beach vacations and it saved me from looking too shaggy in vacation photos.
2. The Twist-and-Cut Method for Face-Framing Layers
This one’s great when you want to clean up the front of your hair. Simply part the front sections, twist each one tightly, and trim the ends. I actually learned this from a viral TikTok — and it worked shockingly well. My friend called it a “mini facelift” for the hairline.
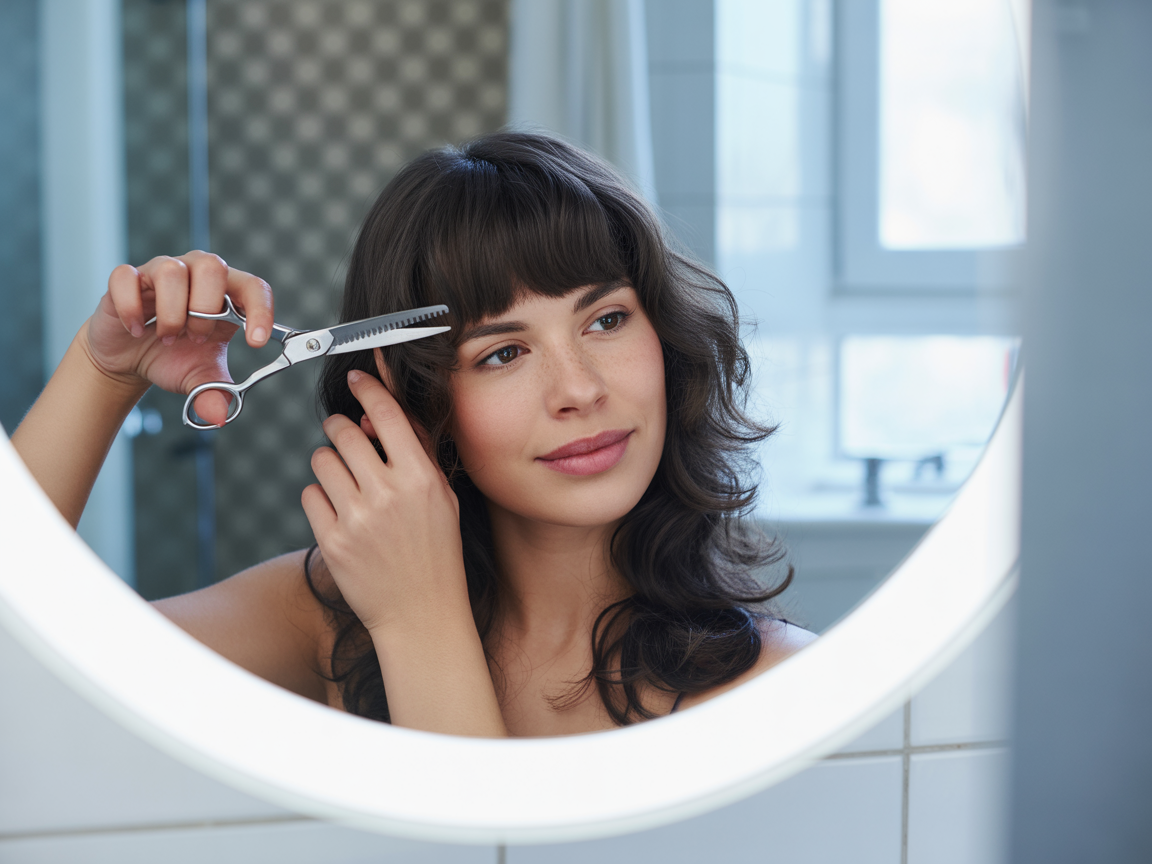
3. Bangs Trim — Dry Only!
If you’ve got bangs, dry-cutting is a non-negotiable. Wet hair shrinks, and I’ve learned that the hard way. I cut mine while dry, little by little, using a point-cutting motion for softness. One time I went a bit bold before a spa date, and let’s just say — thank goodness for headbands.
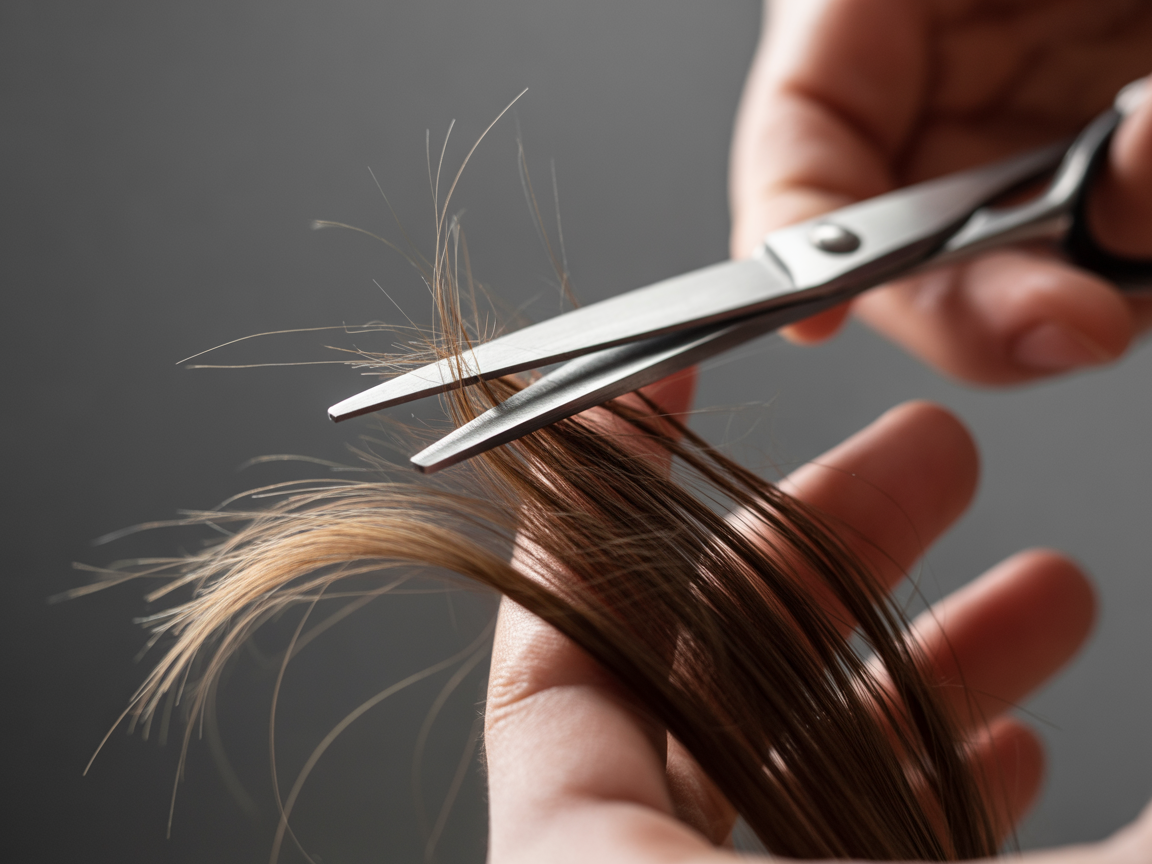
4. The Split-End Snip Session
This is my go-to on Sunday nights. I sit by a window, section my hair, and look for split ends under natural light. Using sharp scissors, I trim only the damaged ends — no shaping, just maintenance. It’s almost meditative, and my hair always feels healthier afterward.
5. Cutting Curly Hair Dry (Yes, Always Dry)
Curls have their own rules. I only trim mine when they’re dry and in their natural shape. I cut curl by curl, checking symmetry as I go. I once made the mistake of wet-cutting my curls — they dried into a triangle. Never again.

6. The “Two-Mirror” Bob Touch-Up
To maintain my bob, I use two mirrors to see the back. I section my hair in layers, trim the bottom layer first, then work my way up. Precision is key — and patience. I always remind myself: less is more.
7. Layered Cut with the “Pinch and Trim” Method
Gothe next section of hair, squeeze it between two fingers and cut the ends at an angle to achieve texture instantly. I often like doing this when I want a different style but my hair’s length doesn’t need cutting. It works surprisingly well to give flat hair more style before you attend an event.
8. The “U-Cut” for a Softer Shape
I cut my hair at an angle by bringing both sides forward and cutting along the hairline when I have it parted down the center. The shape of the green looks natural and rounded as soon as I flip it back. It’s great especially when your hair is rather long.
9. Microdusting for Extra Length Retention
Ever heard of trimming without losing length? That’s microdusting. I do this when I’m trying to grow my hair and want to protect it. I only brush over the very tiniest bit — around one millimeter. It makes your hair look better and usually does not affect your rate of growth.
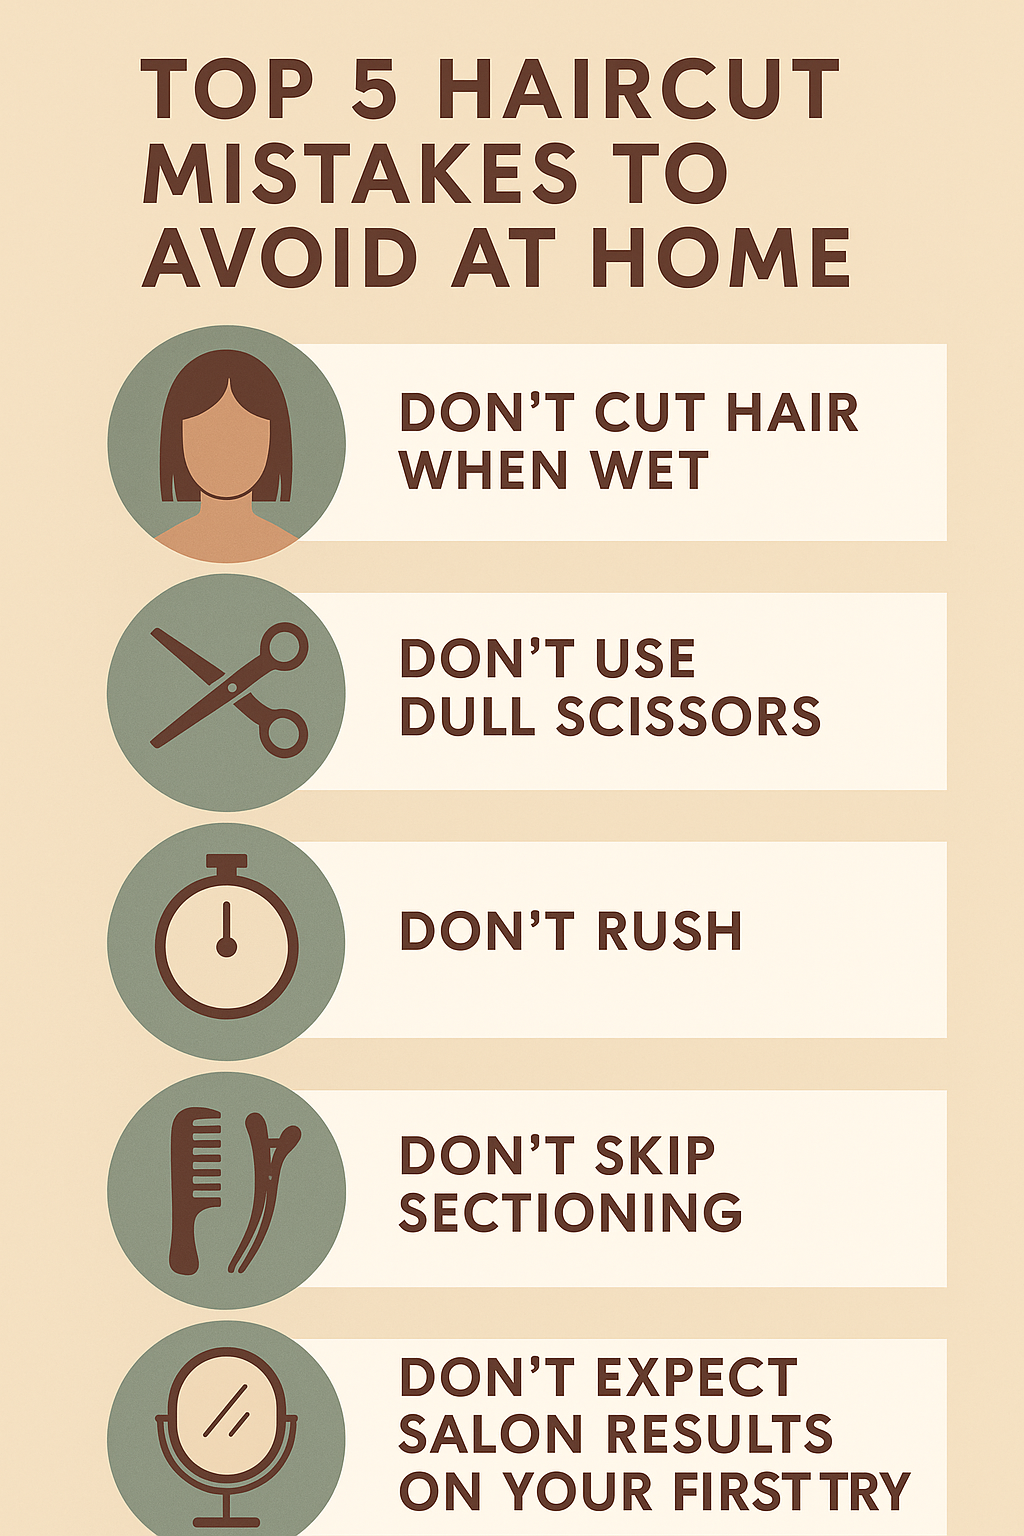
What NOT to Do When Cutting Your Own Hair
Before you reach for the scissors, here are the mistakes I’ve made so you don’t have to:
- Don’t cut hair when wet unless it’s poker straight.
- Don’t use dull or household scissors.
- Don’t rush — give yourself time and breaks.
- Don’t skip sectioning; it leads to uneven results.
- Don’t expect salon results on your first try.
These lessons were all learned the hard way. Especially the time I cut my hair during a movie night — big mistake.
Common Questions I Get
| Question | My Answer |
|---|---|
| Can I cut my own curly hair? | Yes, but always dry and one curl at a time! |
| How do I fix a bad DIY cut? | Blend with light layers or visit a stylist if it’s too uneven. |
| What if I mess up the back? | Use a two-mirror setup and go slowly. Ask a friend if needed. |
Final Thoughts and My Go-To Advice
Having a haircut at home is not just about saving cash — it’s about making your own image. Every time you learn, you make changes and you get even better. Here’s what I’ve learned over the years:
-
- Start small — especially if you’re nervous.
- Use the right tools (they really matter).
- Dry cuts are your safest bet for accuracy.
- Be confident in what you do, but remember to carry a backup hat with you.
- Make it fun — not stressful.
Have you ever tried cutting your own hair? Was there anything that succeeded for you — and what would you skip in the future? Let’s swap stories in the comments!