
Ever looked at someone’s nails and thought, “How do they get that dreamy, glowing effect?”
That’s exactly what I asked myself the first time I saw aura nails on TikTok. I was instantly obsessed. The soft fade, the almost spiritual glow — I knew I had to try it myself. Spoiler: I made a few hilarious mistakes before finally getting it right.
In this post, I’ll walk you through 9 ways to do aura nails at home that actually work — from simple sponge hacks to layering techniques that give that salon-style finish. I’m sharing tips, personal stories, and tools I genuinely use in my own routine.
Who is this post for?
- Anyone new to DIY nails
- Nail lovers looking to try the aura trend
- Girls who want dreamy, soft-glow manicures without going to a salon
What Are Aura Nails and Why Everyone’s Talking About Them
Aura nails are a dreamy nail design trend inspired by energy fields and spiritual vibes. They feature a soft, radiant center color that diffuses outward — kind of like a glowing halo. The result? A look that’s feminine, hypnotic, and totally unique to you.
This trend blew up on Pinterest and TikTok because it looks otherworldly but is surprisingly doable at home. Whether you’re into pastels or bold tones, the gradient glow works with almost any palette.

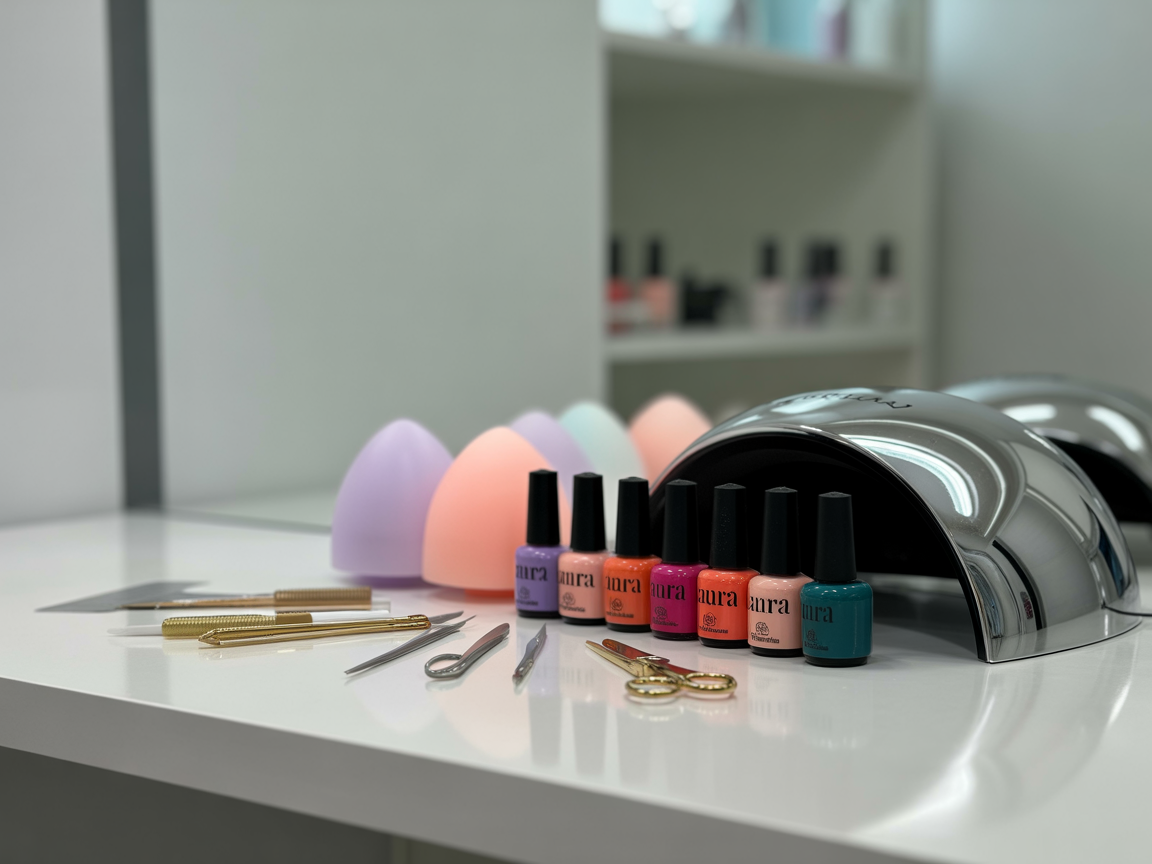
What You’ll Need to Create Aura Nails at Home
Before diving into the methods, here’s what I always keep in my DIY nail kit for aura designs:
- Nail sponge or small cosmetic sponge
- Two or more gel polish shades (one for the base, one for the aura center)
- Base coat + top coat
- UV/LED nail lamp
- Small clean-up brush or cotton swabs
- Cuticle oil (for the final touch)
Each tool plays its role. The sponge is key for blending, while gel polish helps lock in that soft-focus effect. Here’s a quick breakdown of my go-to items:
| Item | Why It Matters | My Favorite |
|---|---|---|
| Sponge Tool | Creates soft gradients easily | BeautyBigBang Nail Sponges |
| Gel Polish | Layerable and vibrant | Beetles Gel Polish Set |
| UV Lamp | Cures polish fast and evenly | SUNUV LED Nail Lamp |
9 Easy Ways to Do Aura Nails at Home Like a Pro
1. The Classic Sponge Technique
This was the first method I tried — and honestly, it’s still my go-to. I apply the base color, cure it, then dab on a second shade in the center using a sponge. Light taps and a little patience give that gorgeous, glowy blur.
I tried this on a lazy Sunday afternoon with a glass of rosé and ended up loving the results so much, I skipped the salon for weeks.
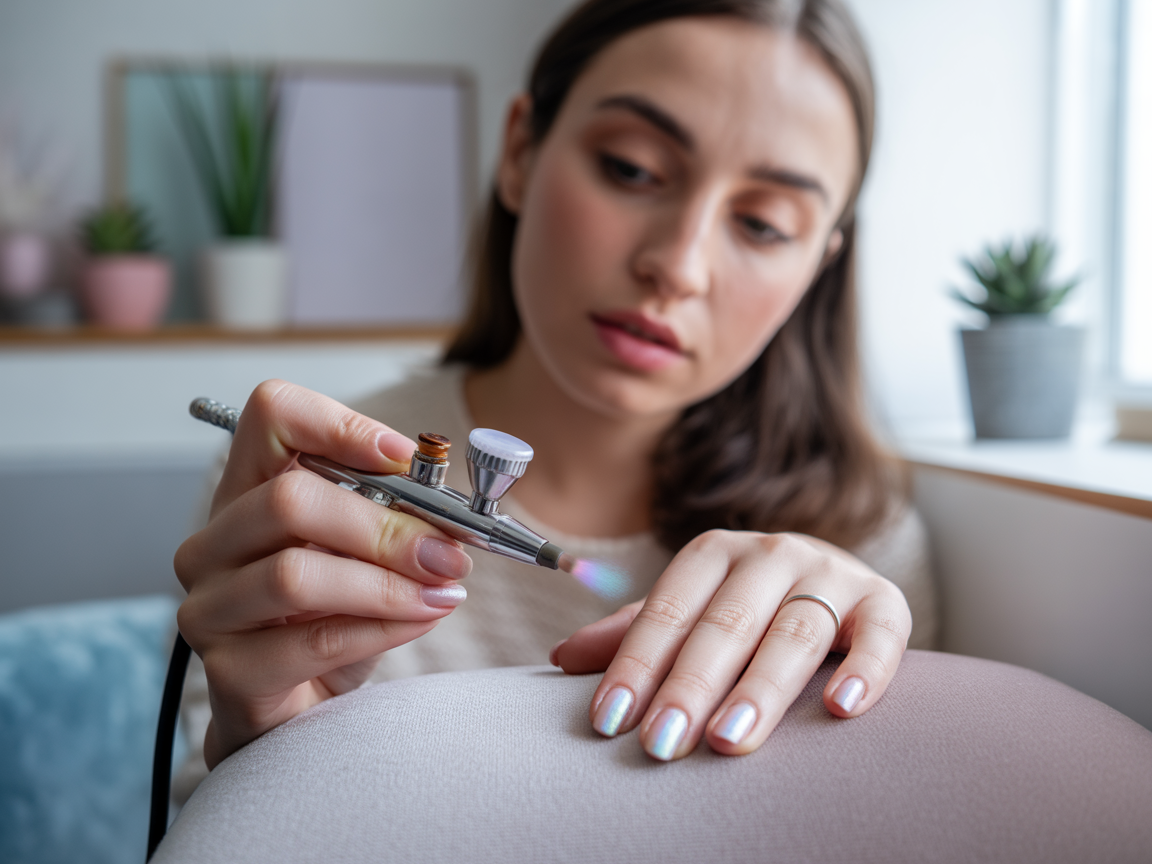
2. Use a Mini Airbrush Machine
If you want that ultra-blended, professional fade, a mini airbrush tool is your best friend. It’s a small investment, but totally worth it if you’re into nails. Just spray a light burst of color in the center, then seal it with top coat.
3. Blend Colors with a Flat Brush
This method is mess-free and perfect for minimalists. After applying the base coat, I use a flat nail brush to tap a second color in the center, blending it outwards with tiny circular motions. It takes practice but gives you full control over the fade.
A friend showed me this when we had a mini spa night at her place. We tried it with baby blue and lilac — magical combo!
4. Add Chrome Powder Over Your Aura
After creating your aura base, brushing on chrome powder adds that otherworldly shine. It catches the light beautifully and makes your nails look like cosmic gemstones. Just remember to rub it in gently and finish with a non-wipe top coat.
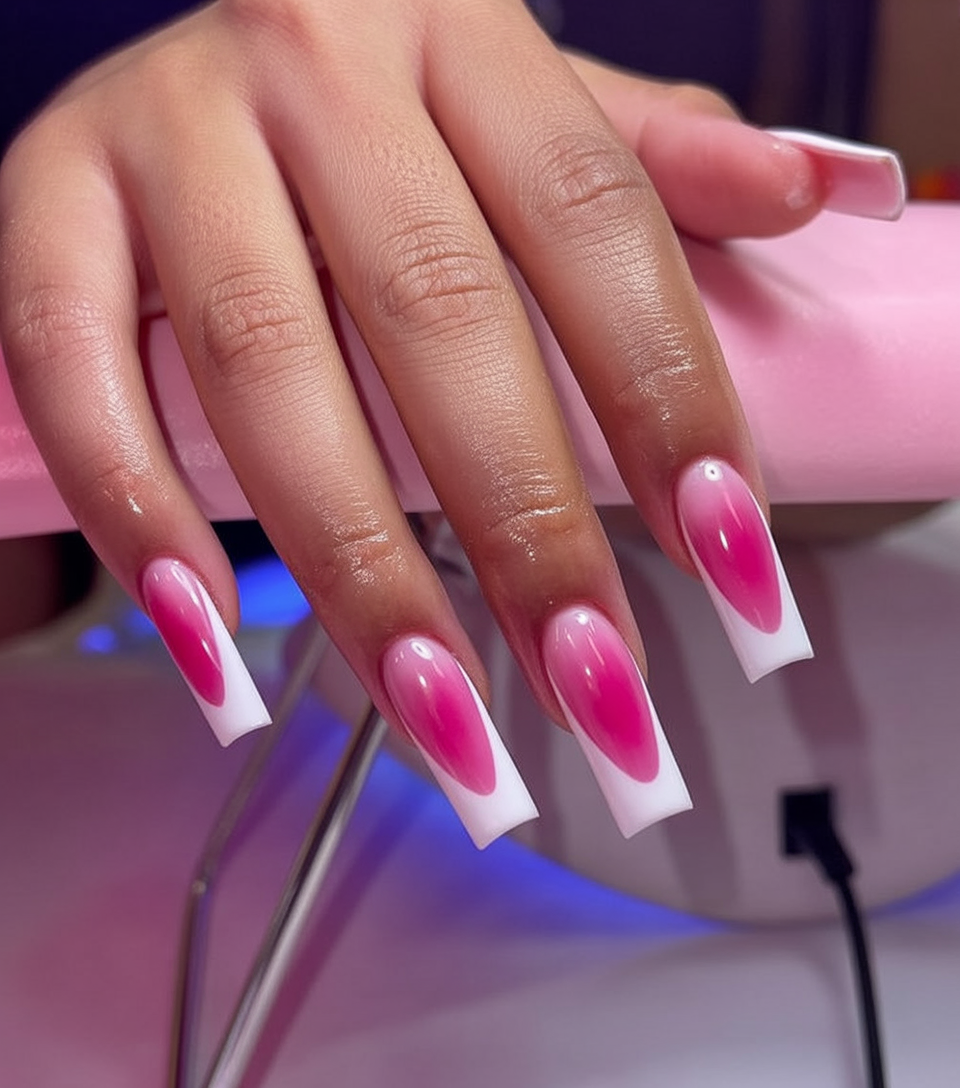
5. Combine Aura with French Tips
This twist blends classic and trendy. Start with your aura base, then freehand or tape off the tips for a white or colored French line. It looks super chic, especially on almond or coffin-shaped nails.
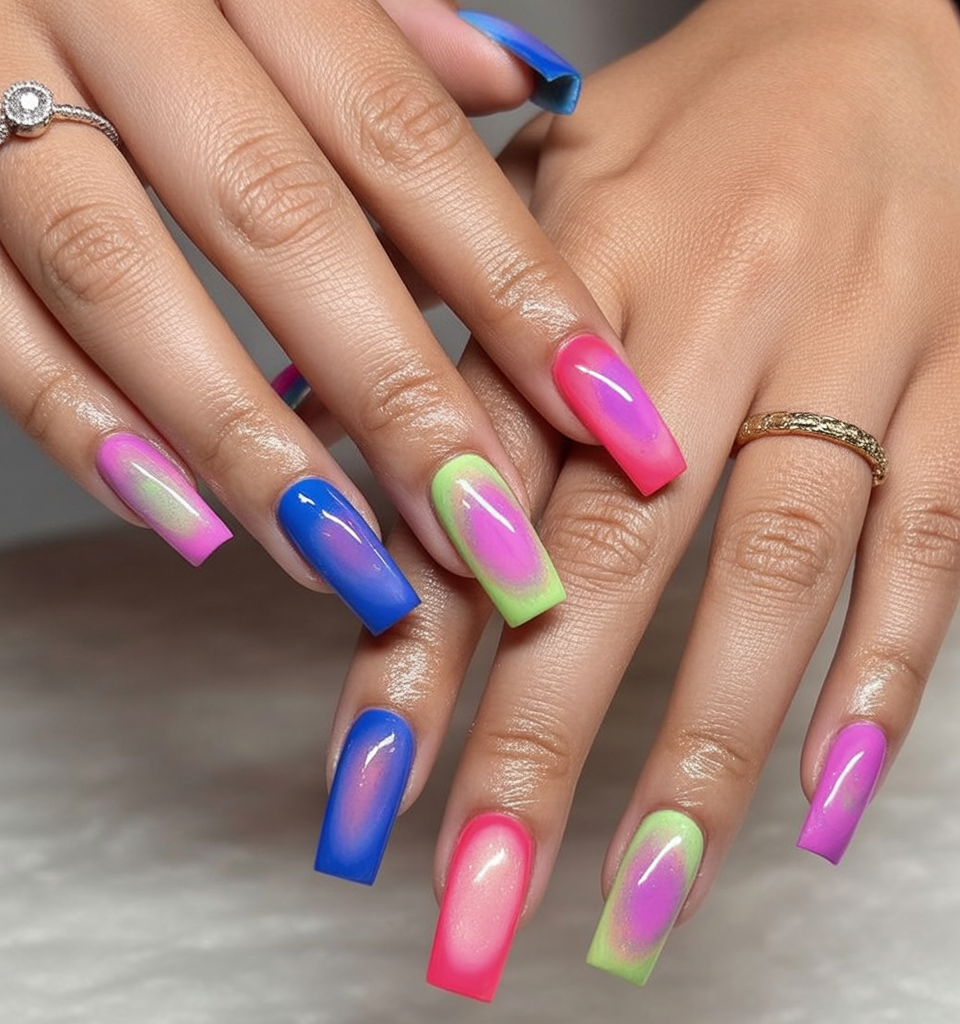
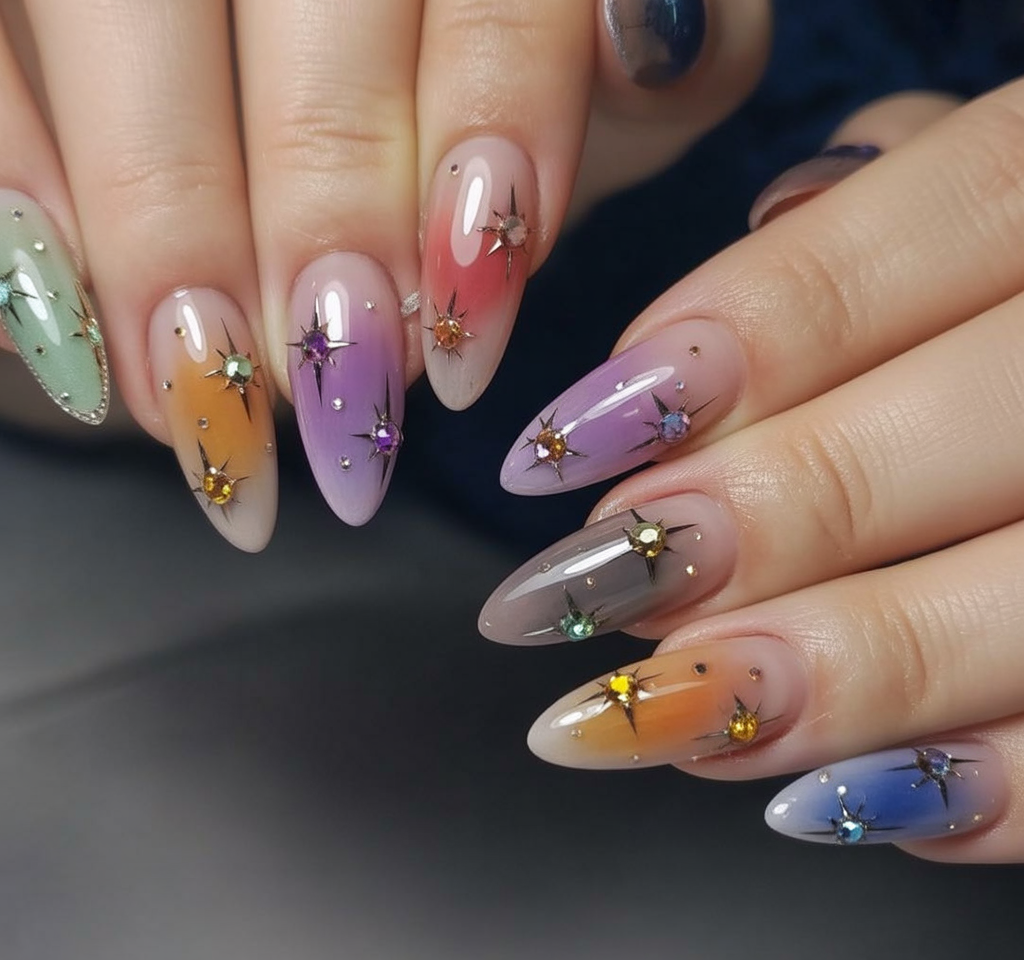
6. Create Multi-Aura Nails
Here’s one for the creatives. Paint each nail with a different aura color center — pink on one, blue on another, lavender, peach, you name it. It takes time but the result is like a dreamy, cosmic rainbow on your hands.
7. Use Sheer Colors for a Watercolor Effect
Try sheer gel polishes if you want something super soft and wearable. They layer beautifully and give that watercolor glow, especially if you use two pastel shades together. I love this for everyday nails that still feel special.
8. Play with Negative Space
Instead of filling the whole nail, apply the aura effect just in the middle, leaving parts of the nail bare or with a nude base. It gives a very editorial look — perfect for brunch dates or artsy Instagram shots.
9. Add Nail Art on Top
Once your aura base is done, try layering on tiny art details like stars, dots, or rhinestones. It takes your look from cute to magical. I started doing this after seeing a nail artist add mini moons over hers — and now I’m hooked.
Common Mistakes to Avoid
Don’t worry — I made these errors so you don’t have to. Here are a few tips to save you time and frustration:
- Don’t use too much polish on the sponge — it’ll look patchy.
- Let each layer cure fully or your colors will smudge together.
- Pick colors that blend well — neon green and burgundy don’t exactly “glow.”
Trust me, I once tried black and hot pink. It looked like a bruise.
My Favorite Color Combos That Always Look Great
Color choice is everything. Here are my ride-or-die aura combos you can’t go wrong with:
- Baby pink + white
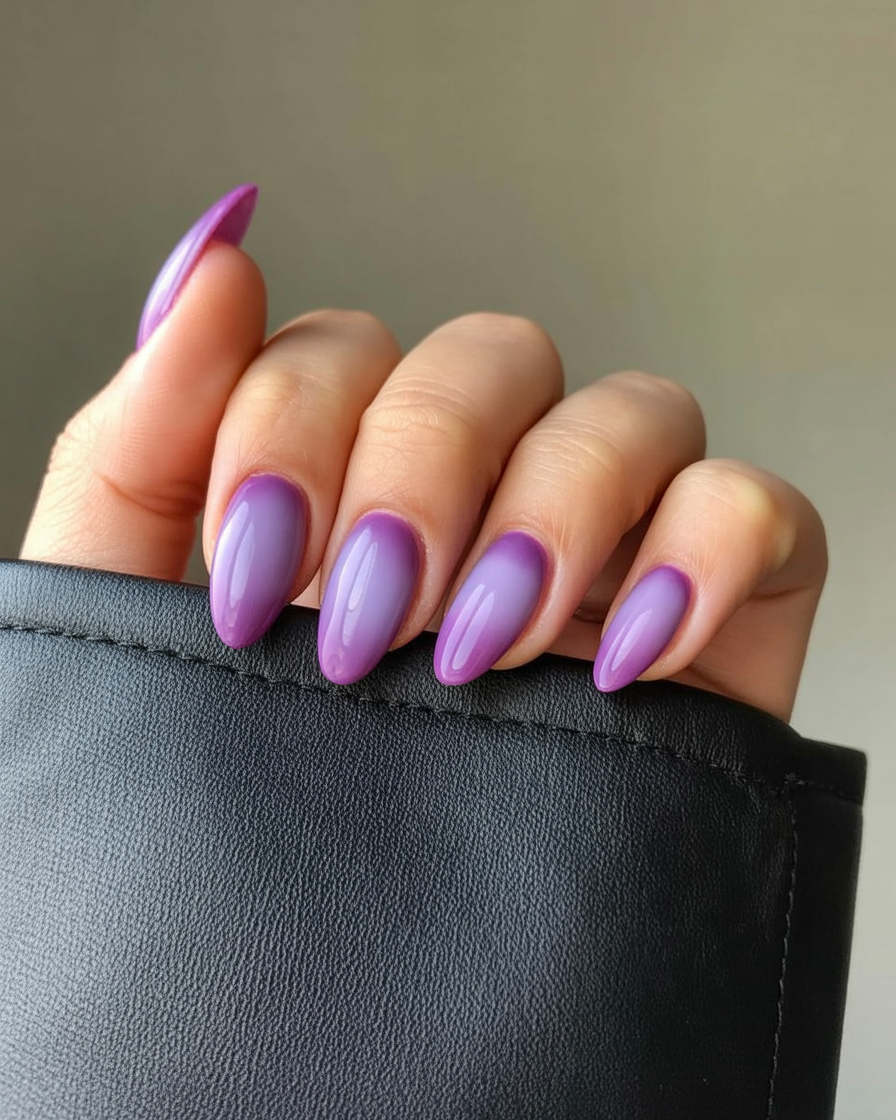
- Lavender + hot pink
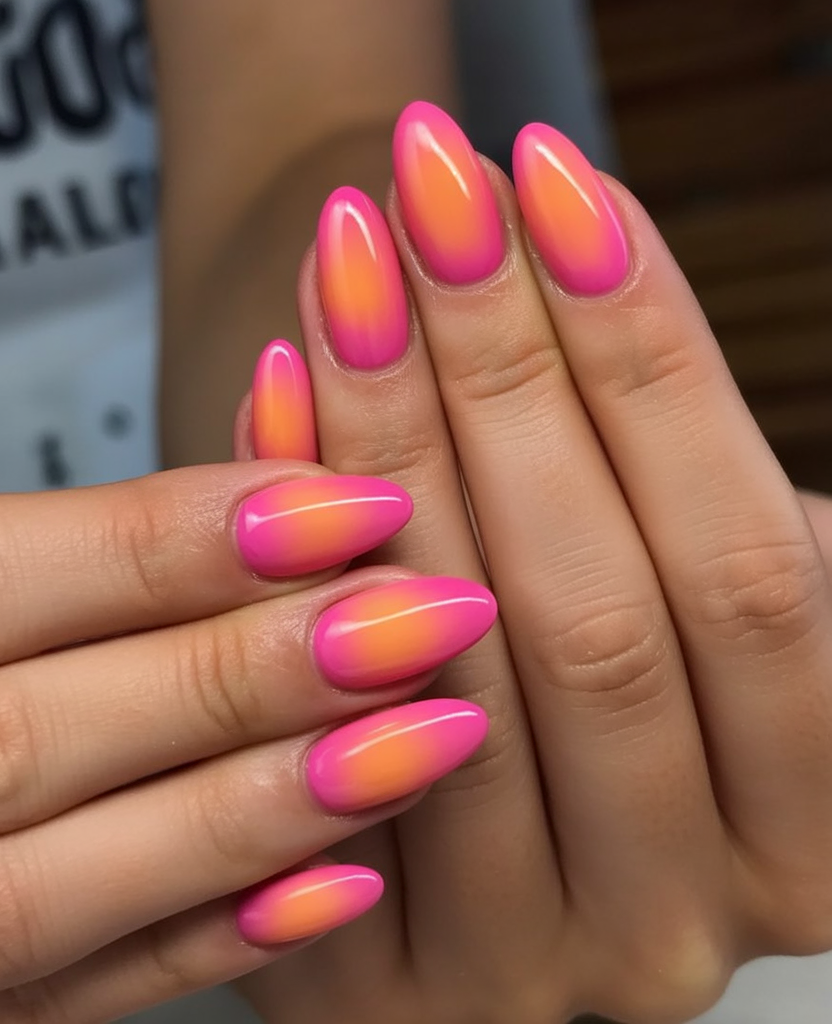
- Peach + coral
- Mint + soft teal
- Nude + sky blue
My Favorite DIY Aura Nail Kits
I’ve tried a few kits over the past year and these are the ones that actually made it easier:
- Modelones Gel Nail Set – Beautiful colors that blend well.
- Makartt Nail Art Sponges – Super soft and easy to control.
- SUNUV UV Lamp – Compact and reliable for at-home manicures.
They’re beginner-friendly but still give pro results — perfect for experimenting without wasting product.
Final Thoughts
Here’s what I’ve learned after doing aura nails over and over again:
- Start with light pressure and build up your glow slowly.
- Use colors you love — even bold ones work with the right blend.
- It doesn’t need to be perfect — that dreamy look hides little flaws.
- Practice makes pretty. Your 3rd or 4th set will look amazing.
Have you tried aura nails yet? What color combo would you love to try first?