
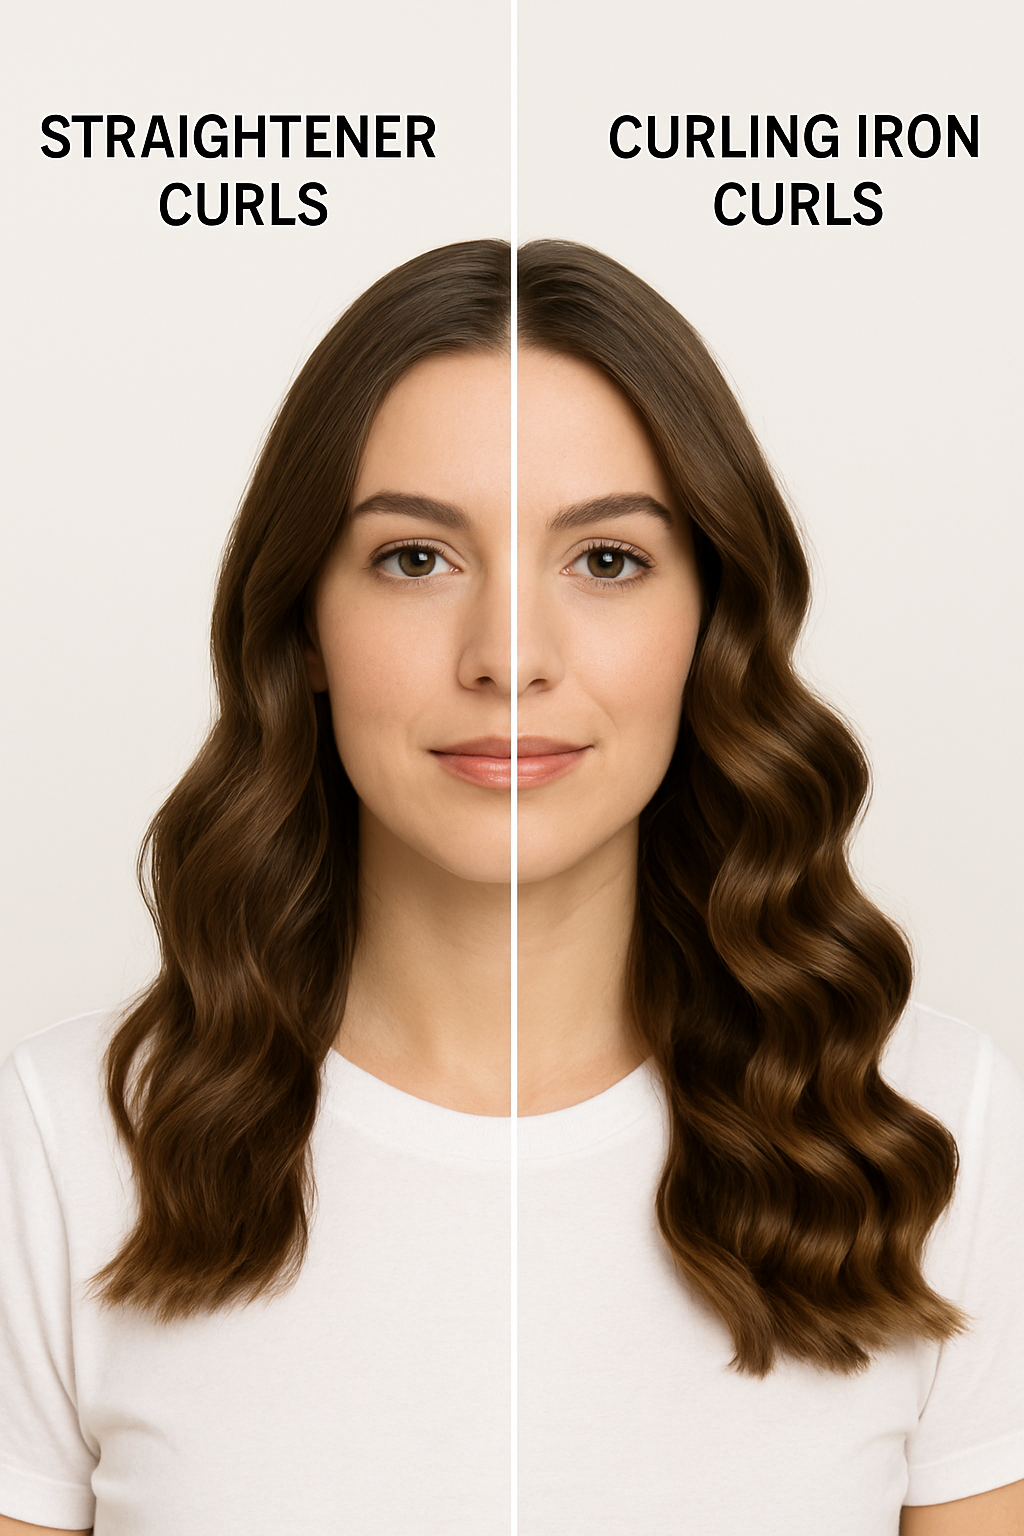
Ever looked at your flat iron and thought, “Could this do more than just straighten?” I certainly did — and that curiosity led me down a fun, frizz-filled (but rewarding!) journey into curling with a straightener. Spoiler alert: It absolutely can.
In this post, I’ll walk you through 7 of my favorite techniques to curl hair with a flat iron. These aren’t just one-size-fits-all tricks — they’re tried-and-true methods I’ve used for everything from last-minute dates to beachy vacation waves. I’ll share what works, what to avoid, and how to tweak each method for your hair type.
Whether you’ve got fine strands, thick locks, or a messy mid-length bob, there’s something here for you.
Why Curling with a Straightener Actually Works
Flat irons don’t just straighten — they use heated plates to reshape your hair’s hydrogen bonds. When you apply controlled heat and shape your hair with a twist, slide, or press, you can form lasting curls, waves, and bends that rival any curling wand.
Bonus? A flat iron can create more natural-looking texture because you control every angle.
What You’ll Need Before You Start
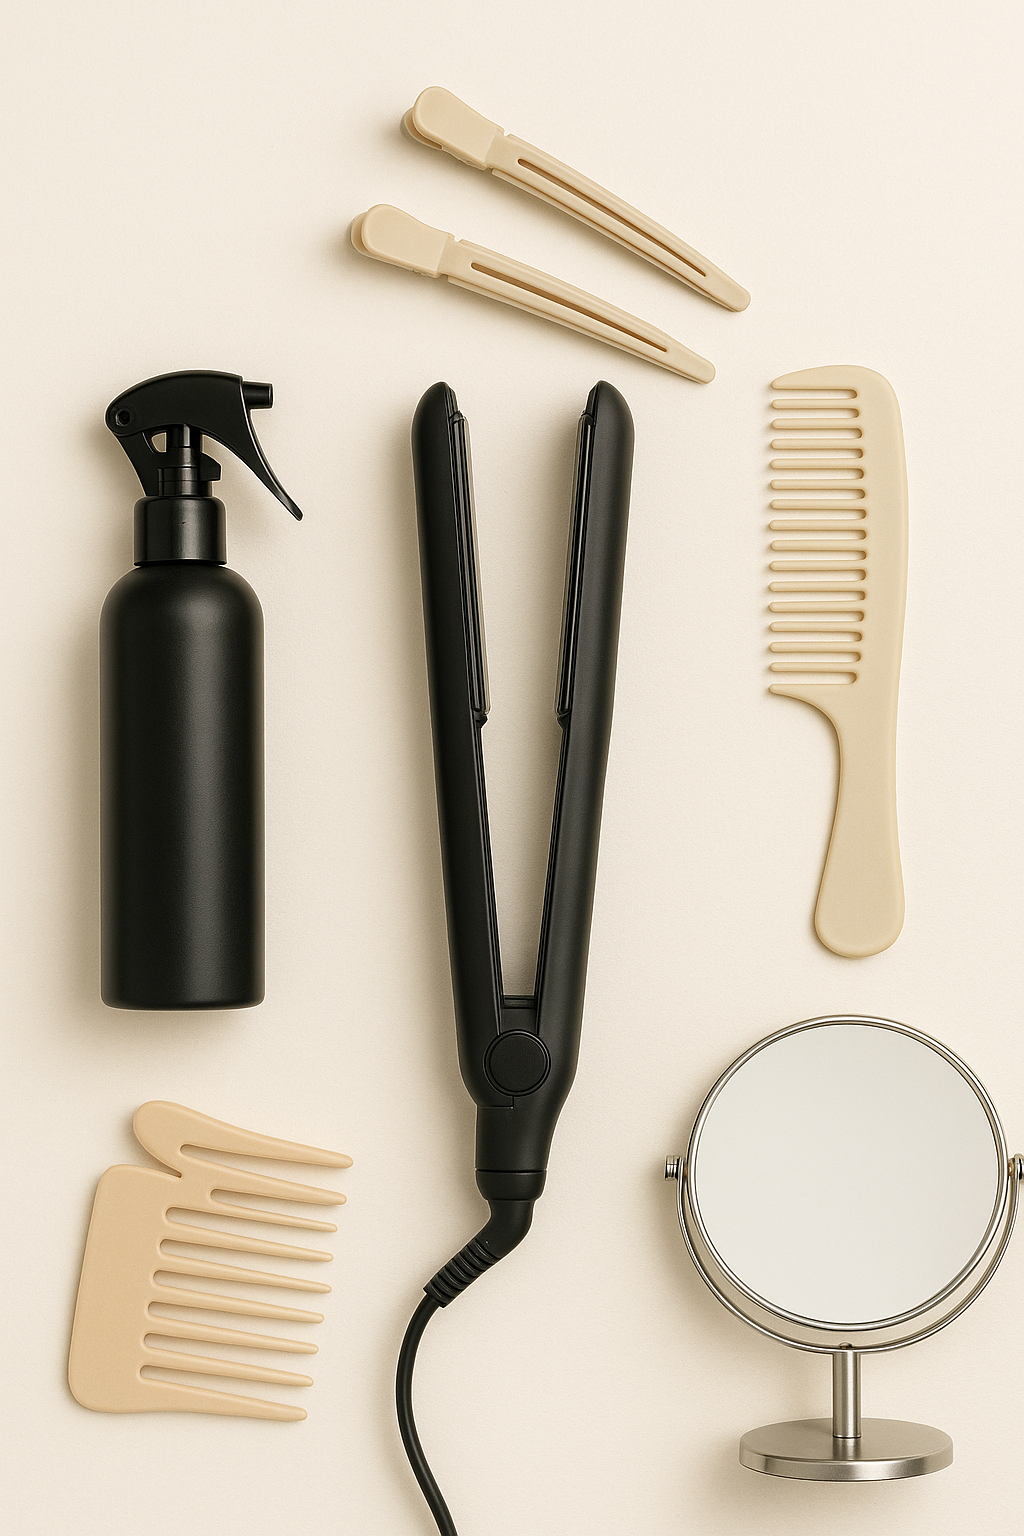
Before diving in, set yourself up for success with the right tools. Here’s what I always keep on hand:
- 1” or 1.25” flat iron with rounded edges
- Heat protectant spray (never skip it!)
- Hair clips for sectioning
- Wide-tooth comb or brush
- Mirror and good lighting
I used to skip heat protectant… until a summer beach trip left my hair dry, brittle, and splitting at the ends. Lesson painfully learned. Always prep your hair!
7 Easy Ways to Curl Hair with a Straightener
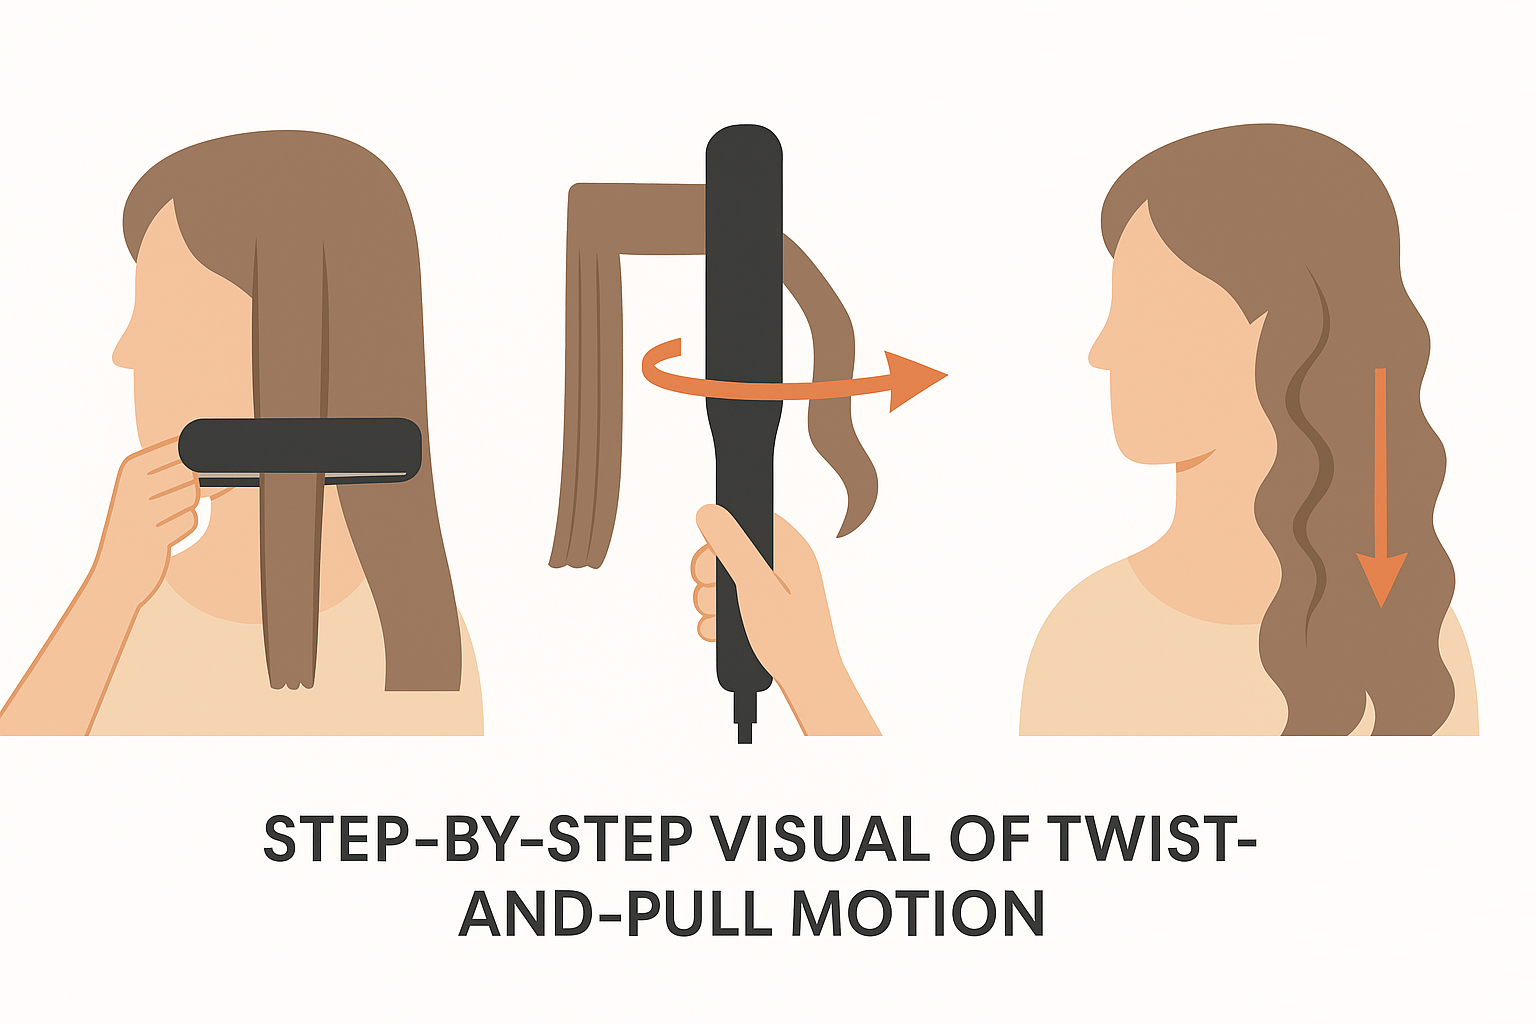
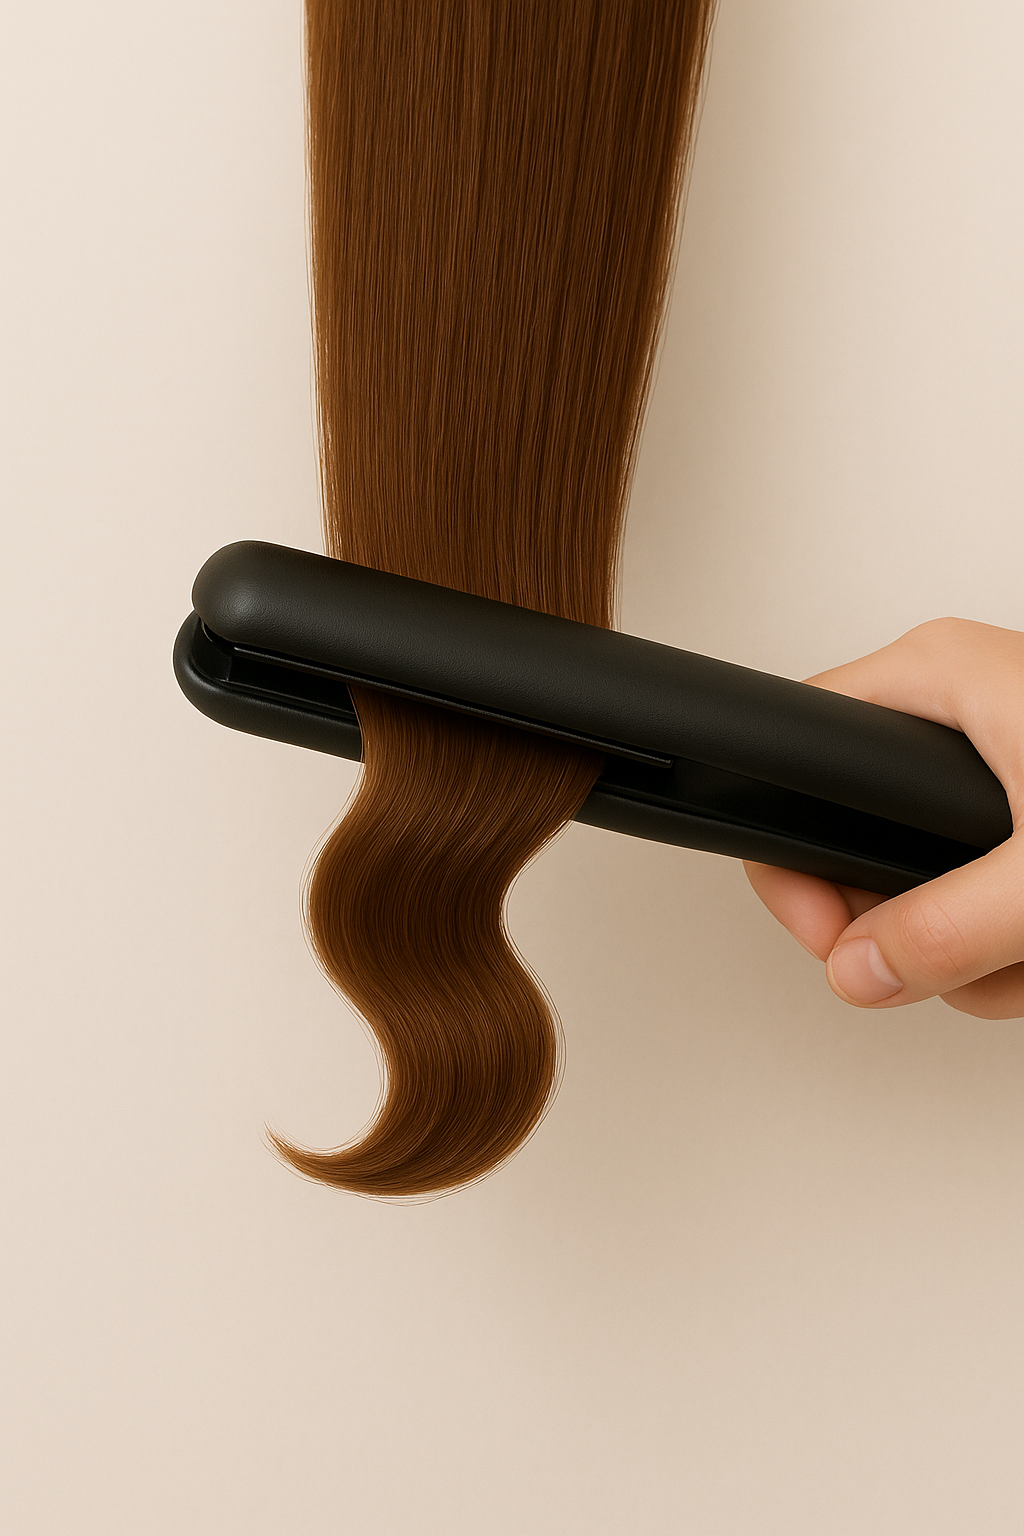
1. The Classic Twist-and-Pull Method
This is the first technique I mastered — and still one of my favorites. Clamp a section of hair, rotate the iron 180 degrees away from your face, then gently glide it down. The result? Loose curls that look polished but not overly “done.”
2. The Flick Curl for Ends Only
Short on time? Just flip the ends. It adds movement and bounce without a full curl commitment. Great for bob cuts or when I want that effortless French-girl vibe. I use this when I’ve overslept but still want to look intentional.
3. The S-Wave Slide Technique
This one was a game-changer for me. A hairstylist friend showed me this before a weekend wedding, and it was the softest wave I’d ever worn. You gently press an “S” shape into each section, alternating directions as you go. Perfect for that slept-in beach texture.
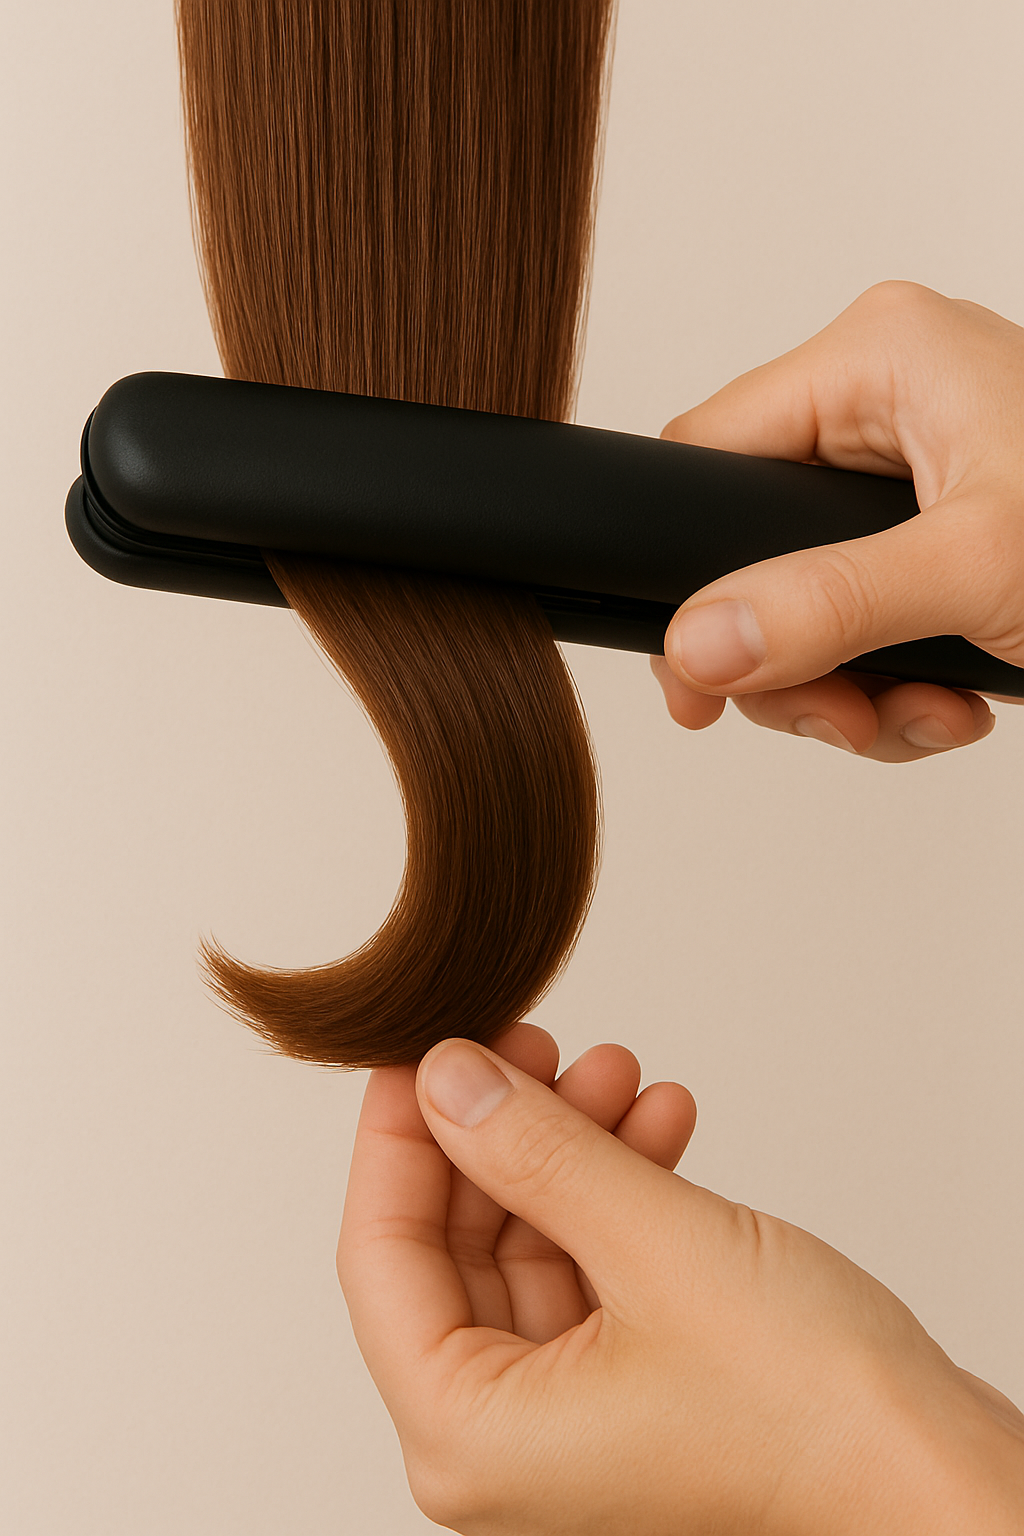
4. The Clamp and Bend Shortcut
One of the simplest styles for straightener beginners. Take a section, bend it into a “C” shape, and clamp for a second. Move down the section and repeat. It’s not quite a curl, not quite a wave — just lived-in, subtle texture. My go-to on humid days.
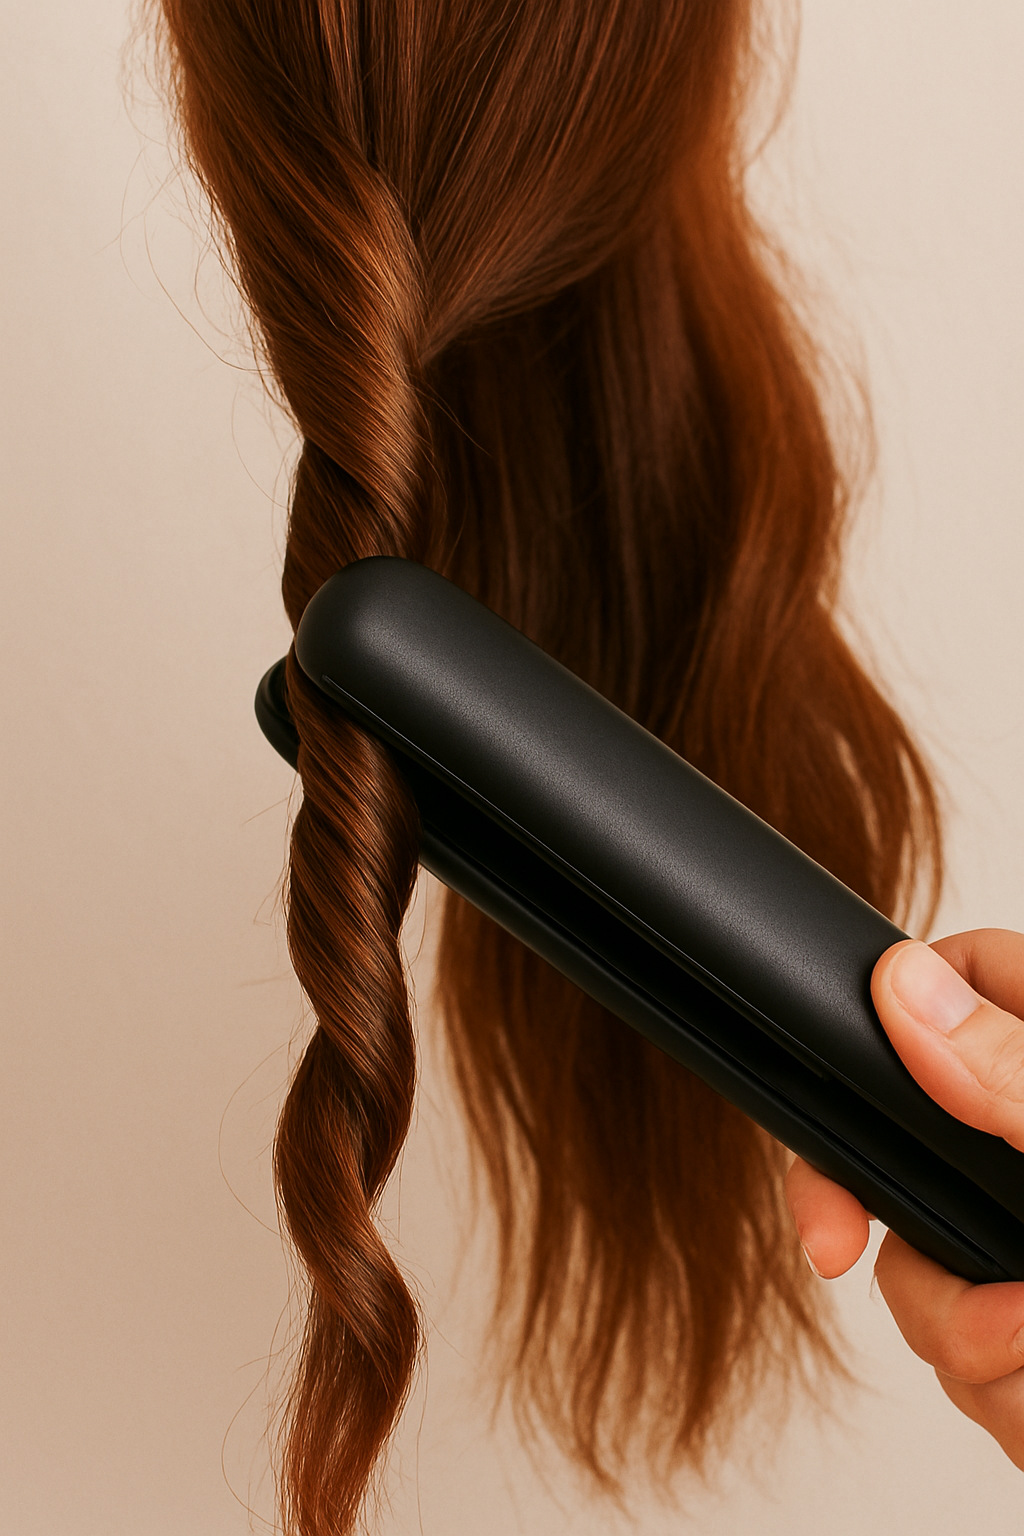
5. Rope Twist Waves
Twist a section of hair tightly like a rope, then slowly glide your straightener from top to bottom. Once it cools, untwist — voila! Natural, slightly frizzy texture in the best way. I do this when I want that “I woke up in Tulum” look. Works wonders on thick hair too.
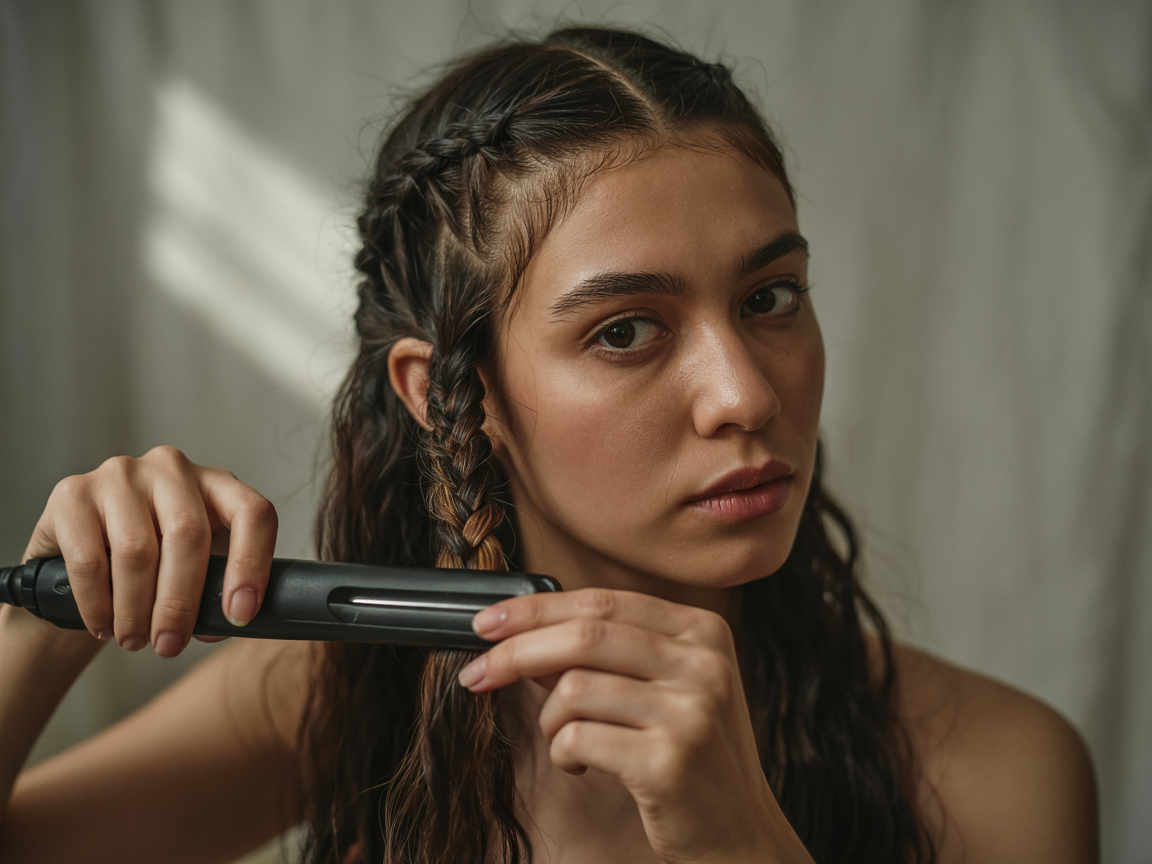
6. The Zigzag Braid Curl
This method gives off strong boho vibes. Just braid your hair, clamp the braid with your flat iron all the way down, let it cool, and then unravel. I saw this on TikTok during quarantine and have used it for every music festival since. It’s fuss-free and super cute.
7. Volume-Boosting Crown Curls
Sometimes, I don’t need my whole head curled — just a little volume up top. I curl the crown and face-framing pieces using the twist method. It lifts my roots and gives structure without spending 30 minutes in the mirror. Bonus: It works great with dry shampoo on day two hair.
Curling Tips for Different Hair Types
Not all hair reacts the same to heat — and that’s okay. Here’s a quick cheat sheet I made after many (many!) failed tries:
| Hair Type | Best Method | Iron Temp | Extra Tip |
|---|---|---|---|
| Fine | Classic Twist, Crown | 300–325°F | Use lightweight texturizing spray |
| Thick | Rope Twist, Zigzag Braid | 375–410°F | Work in small sections |
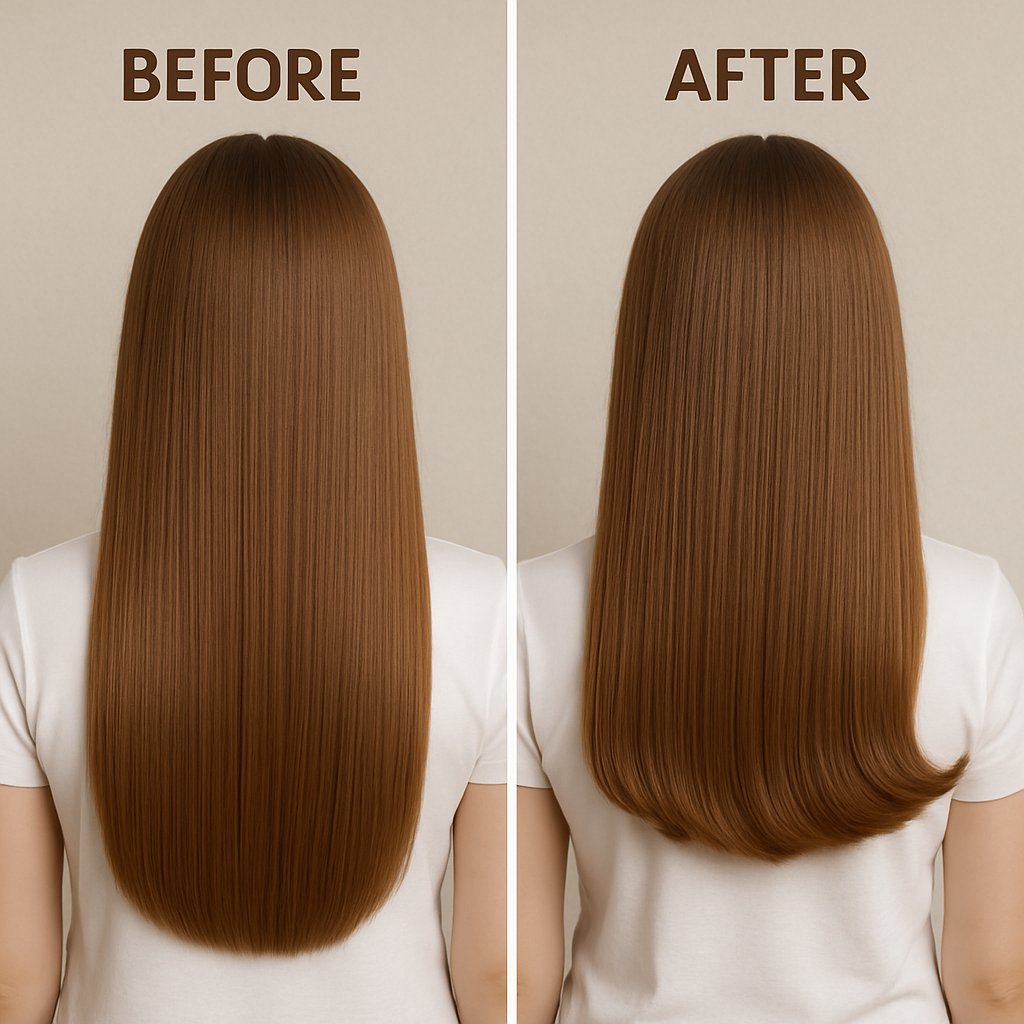
| Curly/Frizzy | S-Wave, Rope Twist | 350–375°F | Pre-straighten first for smoother curls |
| Damaged/Color-treated | Flick Curl | 280–310°F | Always use heat protectant spray |
How to Set Your Curls So They Last
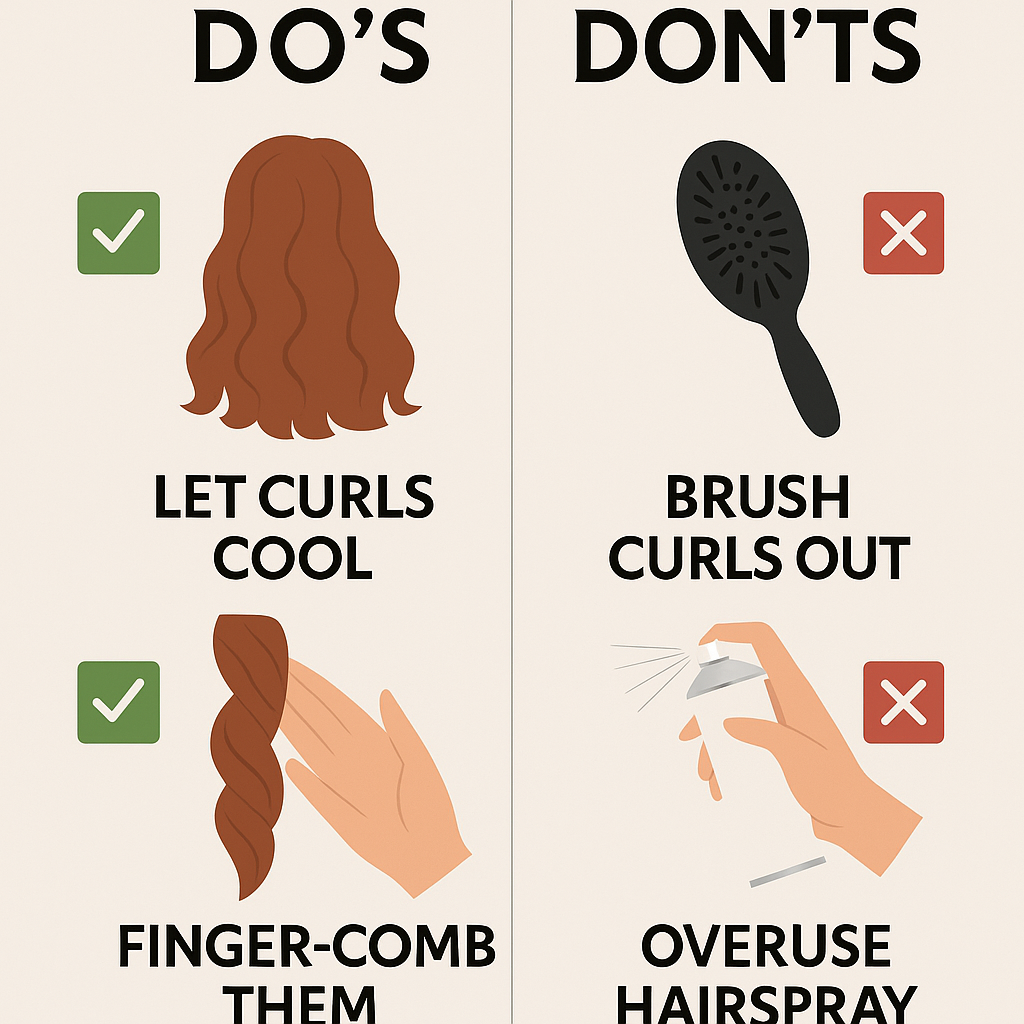
Getting the curl is only half the battle — keeping it is the other. Let each curl cool completely before touching it. Use a flexible hold hairspray or a texture mist. And resist brushing them out! Finger-comb instead for soft, defined waves.
I used to run a brush through my curls right away… and then wonder why they disappeared. Let them set!
Common Curling Mistakes and Fixes
Don’t worry — I’ve made all of these. Here’s what to watch for:
- Curls won’t hold? Lower heat and smaller sections help lock the shape in.
- Ends are sticking out? Be sure to twist the iron all the way through the length.
- Weird creases? You’re probably clamping too hard or not gliding smoothly enough.
Final Thoughts: What I’ve Learned from Curling with a Straightener
Here’s what years of twisting, burning, and experimenting have taught me:
- You don’t need a dozen hot tools to get gorgeous waves.
- Prep your hair — it makes all the difference.
- Find the method that matches your hair’s personality.
- Don’t aim for perfection. Imperfect curls are often the prettiest.
- Practice really does make perfect — and curling gets faster every time.
Have you ever tried curling your hair with a straightener? What technique do you swear by? Share your faves in the comments — I’d love to try them too!